Peppermint Plate
This easy to make peppermint plate looks good enough to eat. As a matter of fact, you CAN eat it! Grab this easy holiday recipe.

Jump to:
Why we love this recipe
This super easy, super dramatic recipe for a peppermint plate – and yes, that means a plate made out of peppermints – comes to you courtesy of my mama.
While she is full of artistic surprises all year round, she goes into overdrive during the holidays.
And one Christmas she appeared at my door with this plate made out of peppermint candies. It’s all kinds of merry and bright, and a snap to put together.
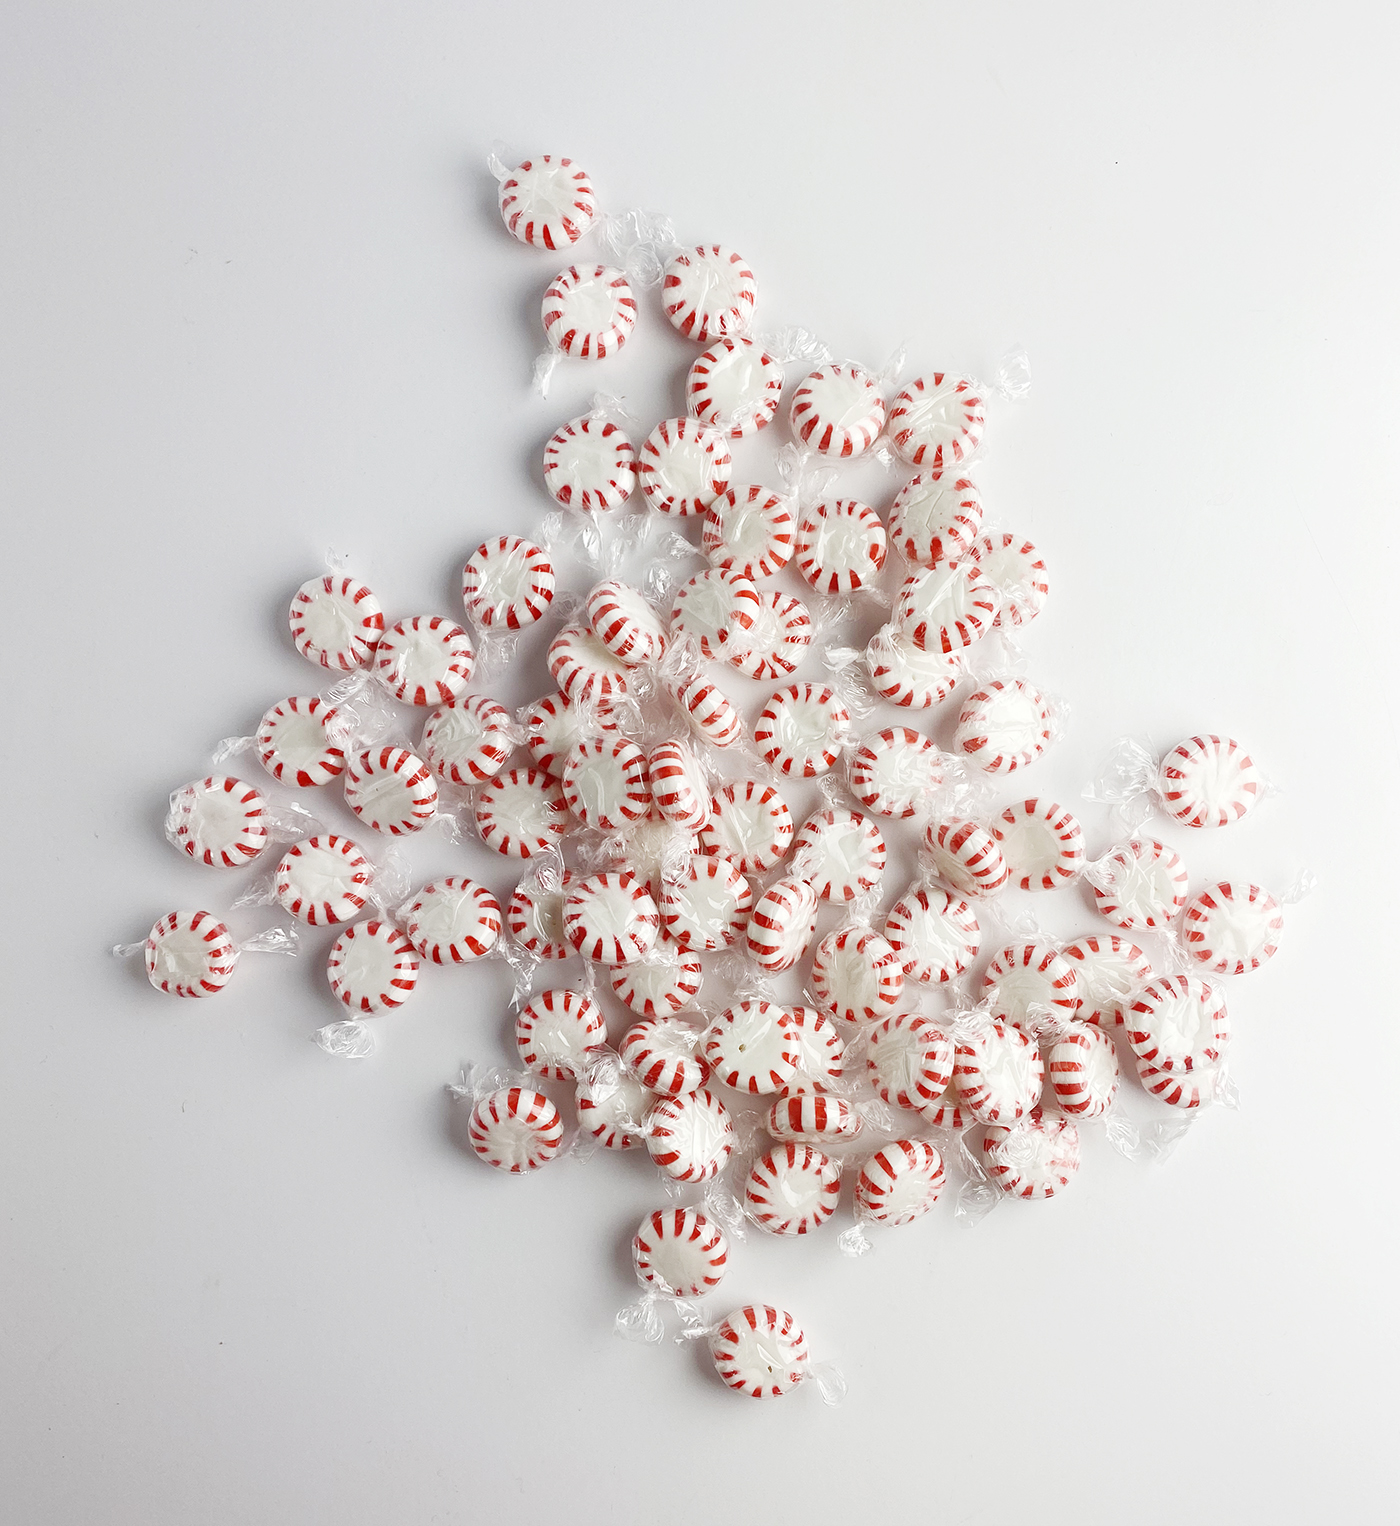
All you need is about 70 regular round hard peppermint candies, a round pan, your oven, some parchment paper and ideally an elf (hi kiddos!) who will unwrap those 70 individually wrapped peppermints.
This is the easiest, merriest thing I have made for the holidays, and I go into overdrive baking for Christmas! I am so happy I finally attempted this gorgeous plate, and now I’m going to make more for everyone I know! It’s my new favorite craft!!
Camilla T.
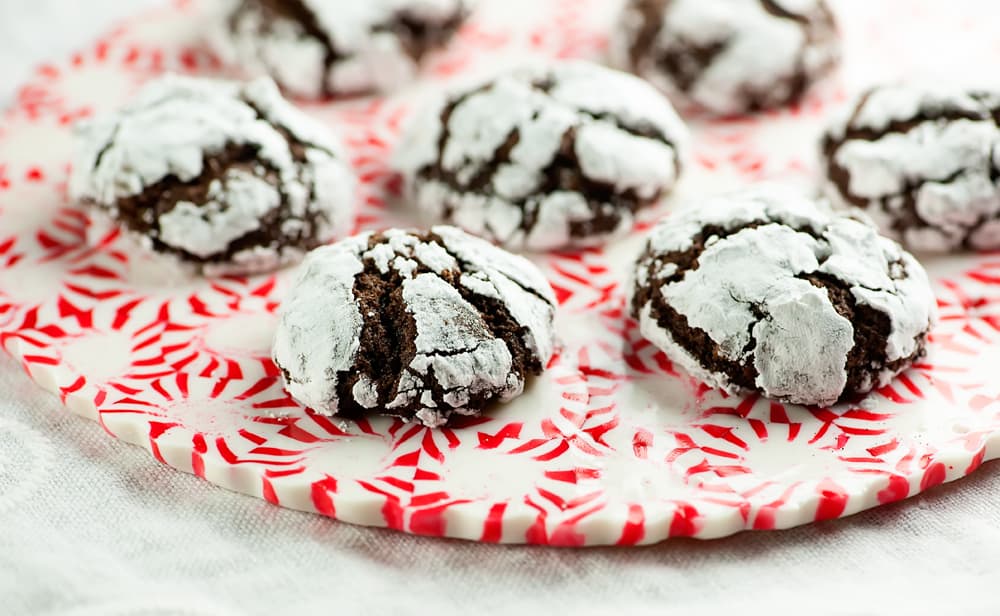
And while you absolutely CAN eat it if you want to, I used it throughout the holidays to serve up cookies. And sometimes a bowl of reindeer crunch!
So on to making your very own peppermint plate!
Ingredients you need
Ingredient notes and substitutions
- Peppermints: You need the regular round, hard peppermint candies. I used all red and white striped ones, but they also come in green and white, so you can use those instead if you like – or mix and match!
See the recipe card for full information on ingredients and quantities.
How to make this recipe
Step 1: Get yourself a bag of round peppermint candies – you’re going to need about 70 of them. Either unwrap them yourself or find a helpful elf to do it with you.

Step 2: Line the bottom of a 9 inch springform pan with parchment paper, letting about an inch or so go up the sides.
.
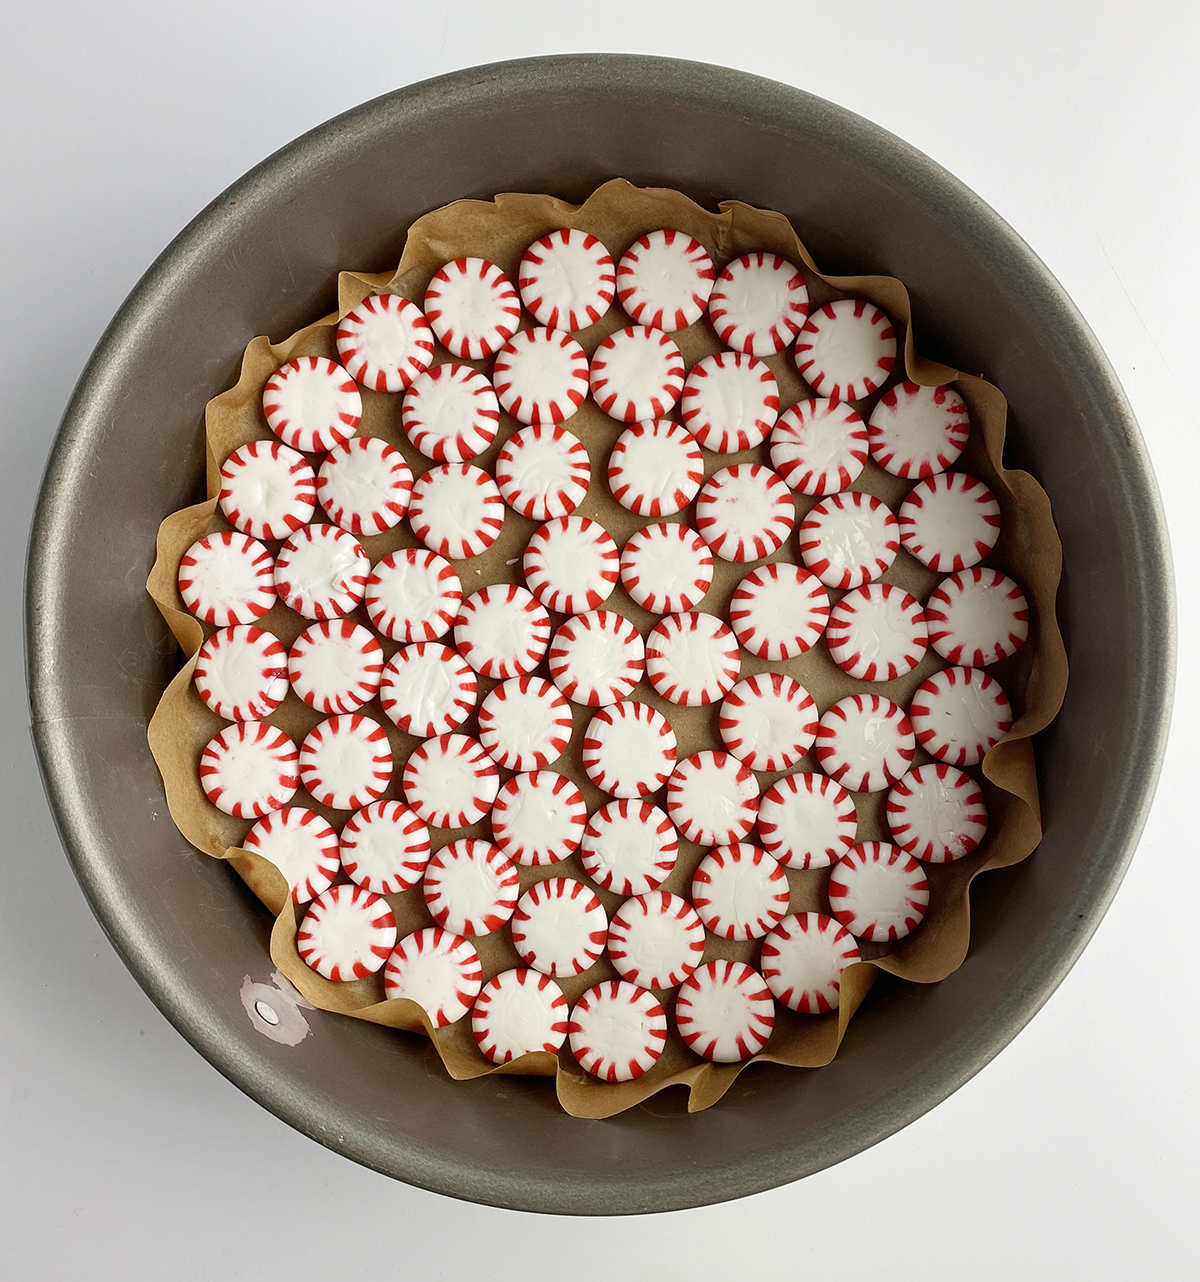
Step 3: Place the candies in a single layer on the parchment in a circular pattern, starting with the outermost ring. There will be a teeny bit of space between some of them…don’t worry! They will melt together.
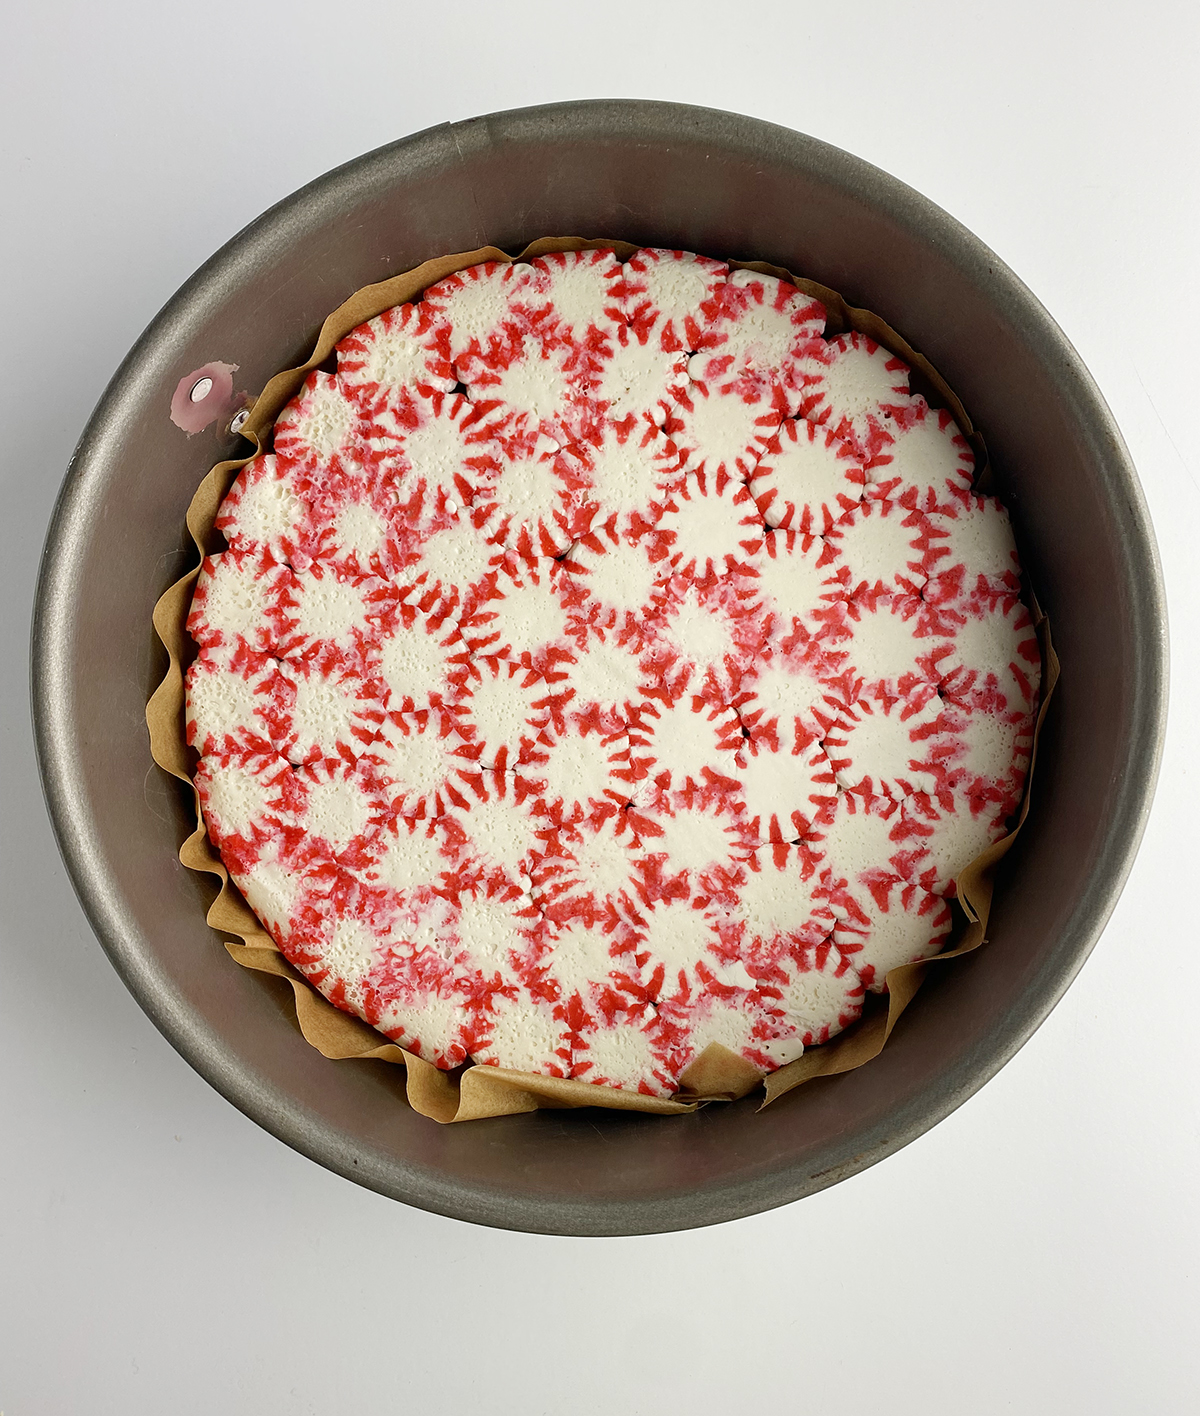
Step 4: Pop the pan into the oven for about 10 minutes until the candies have melted into each other. Let the peppermint plate cool completely before you take it out of the pan, which you should do by unlatching the springform pan and lifting the plate out carefully by the edges of the parchment paper. Toss the paper and enjoy your magical candy plate!
Recipe FAQs
They are either in the candy aisle of your supermarket, or if you are making this during the holidays check the holiday sections where the wrapping paper and other seasonal items are.
A nine inch pie or cake pan will also work – make sure you line it with parchment paper with about an inch coming up the sides.
Parchment paper is coated paper that is heat resistant, and perfect for anything sticky that you are baking…like this peppermint candy plate! You can find it in the wraps and foil section of your supermarket, and sometimes also in the baking aisle.
Sometimes a stubborn peppermint won’t fully melt into its neighbor. If this happens, while the plate is still hot (and so a little flexible) put on heat resistant pot holder gloves and smoosh down ever so gently. That should do the trick!
Pop your question in the comments section below and I will answer pronto!
PRO TIP: Sometimes the bottom of the plate will look smoother than the top, depending on how your peppermints melt. Just flip it over and call the bottom the top!

Now all that’s left is to cover the peppermint plate with peppermint brownies, or fudge or cookies, and to bask in all the admiration that will come your way for your holiday skills!
Other peppermint recipes we love!
Looking for more candy inspiration? Here are a few more of our favorite candy recipes!
And if anyone ever tells you that you can’t eat the dishes, just pull this one out and show them the wonder that is a peppermint plate!
We want to know what you think! 😋
If you try this recipe, we would love to hear how it came out for you! I’d be super grateful if you could leave a star rating (you pick how many stars! 🌟 ) and your thoughts in the Comments section.
Peppermint Plate

This easy to make peppermint plate looks good enough to eat. As a matter of fact, you CAN eat it!
- Prep Time: 10 minutes
- Cook Time: 10 minutes
- Total Time: 20 minutes
- Yield: 1 plate 1x
- Category: Dessert
- Method: Oven
- Cuisine: American
- Diet: Vegetarian
Ingredients
- 70 round peppermint candies, unwrapped
Instructions
- Preheat oven to 350 and line a 9 inch springform pan with parchment paper.
- Place the peppermints in a circular pattern on the parchment, leaving a little space in between them.
- Bake for about 10 minutes or until the candies have melted into each other.
- Cool completely, then unmold the springform pan, take the plate out and peel the parchment off the bottom.
Notes
Peppermints: You need the regular round, hard peppermint candies. I used all red and white striped ones, but they also come in green and white, so you can use those instead if you like – or mix and match!
Is there any way to seal the plate and if so what could it be sealed with?
Hi Kim! I’ve never tried to seal the peppermint plate, but my resourceful daughter who is an elementary school teacher and does lots of crafting suggests using this Modge Podge sealer: https://amzn.to/4a0up95
Hope this helps!
Thank you so much. I shall try it.
Hi Kim, imo this plate project absolutely needs to be sealed if you want to reuse it and or don’t want any creepy crawlers (like ants) getting into it and enjoying a family feast!
Your best option is to use a sealer like a can of polyurethane to spray on the entirety of the plate, top and bottom. You may need more than one coat to ensure it’s completely sealed.
Another great option is ModPodge for the dishwasher used with a foam brush. This provides an excellent seal but takes more than one coat. This product is supposed to be food safe, meaning you can safely eat or drink out of something sealed specifically with ModPodge Dishwasher.
I’m sure that there are other ways of sealing using natural products but tbh I haven’t tried or used any. You should definitely get that information from someone far more knowledgeable and then Google it to ensure safety.
Hopefully this helps,
Shannon
PS Back in the early 90’s when I was just a wee girl, we used to make these but with a twist. Please note I was very young so only have limited memory. We would line a sturdy object with plastic (Saran) wrap, add a layer of candies to fit the shape, cover with another piece of plastic wrap and then topped with a kitchen towel. Then use a clothes iron or very hot hairdryer to go over that layer to melt the candies. Then would carefully flip the candies onto another hard surface or on top of an over turned bowl before repeating the same steps. This way you can create different pieces like a bowl, twisted candle stick holders, sprinkle with glitter to make ornaments to hang from the Christmas tree or porch or trees outside or etc. You can also use an iron or hairdryer to remelt a certain area that might have cracked or was not shaped properly or etc. Today we would use parchment paper instead of the towel. But both work easily well.
Sorry for the novel length response but still forgetting to add a piece of information.
When the candies are still hot and melty, use a metal tool like a kabob stick or the end of your scissors to make a small hole in the piece. Make the opening and then let it completely dry and cool. Then you can insert a ribbon (or whatever makes you happy) to hang your ornament.
Another option is to simply place a section of a metal Christmas ornament hanger (or a piece of wire, ribbon, etc) into the still hot and melty candy before letting it cool and fully harden. Place it wherever you want the top of the decoration to be so you can hang it. This is my favourite and by far the easiest way. When the candies cool they work like glue to secure the hanger and can be made invisibly attached in the piece.
Make sure to properly seal your creation after it’s completely cooled and hardened before using anything you’ve made.
Thank you SO much for all these great ideas! I know they will help the folks who are planning to make this fun plate. :)
This came out SO cute and I had so much fun making it with my little 7 year old elf. Such a fun way to celebrate the season!
It’s so much fun to do with the kiddos – they are fantastic peppermint candy unwrappers! :)
So excited to try this. Thank you!
Hi Paige! I’m so excited for you to try this too – happy merry everything! :)
This is the easiest, merriest thing I have made for the holidays, and I go into overdrive baking for Christmas! I am so happy I finally attempted this gorgeous plate, and now I’m going to make more for everyone I know! It’s my new favorite craft!!
Well this just makes me SO happy! Happy merry everything! xoxoxo
I would love to make these as fun gifts. My questions: 1) are they sticky after baking? 2) if the dessert served on them is warm or somewhat moist – will the peppermint plate be affected?
Thank you!
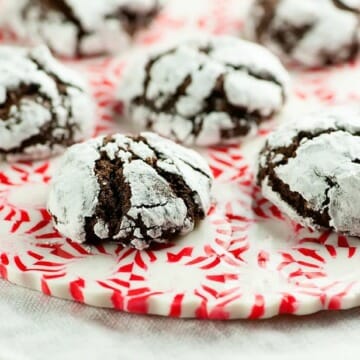
Hi Debbie! As long as you let it cool completely, it won’t be sticky at all. I do think if the dessert you serve on it is warm or moist, you might get a little peppermint residue on the bottom of whatever you are serving (which might not be a bad thing!) and if you are only planning to use it once, that’s okay! I kept mine for about 5 years, using it as a Christmas plate, until someone dropped it. I guess all good things must come to an end, right? Hope this helps! Oh, and if you want to include cookies with your peppermint plate gift, I love the recipes I have on the site for chocolate crackle cookies and Blue Dory Cookies. I would LOVE that as a gift! :)
Thank you for your quick detailed response! I will be making the mint tray very soon and, if they turn out, I can’t wait to gift them!
You are so welcome! I hope they turn out perfectly for you – happy merry everything! :)
This is very clever and results in such a cute presentation! I’ll have to keep this in mind if I end up with a bag of peppermints.
Thank you so much! It’s a fun one. :)