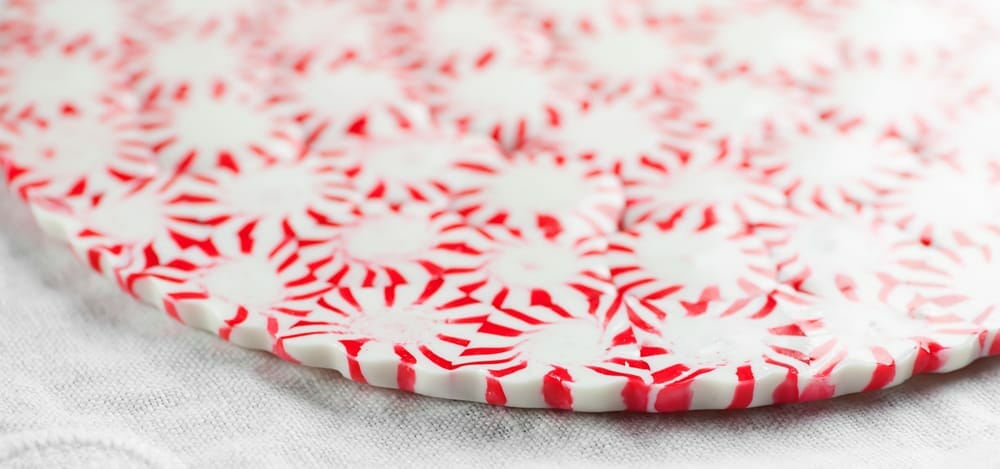
This easy to make peppermint plate looks good enough to eat. As a matter of fact, you CAN eat it! Grab this easy holiday recipe.
Jump to:
Why we love this recipe
This super easy, super dramatic recipe for a peppermint plate – and yes, that means a plate made out of peppermints – comes to you courtesy of my mama.
While she is full of artistic surprises all year round, she goes into overdrive during the holidays.
And one Christmas she appeared at my door with this plate made out of peppermint candies. It’s all kinds of merry and bright, and a snap to put together.
All you need is about 70 regular round hard peppermint candies, a round pan, your oven, some parchment paper and ideally an elf (hi kiddos!) who will unwrap those 70 individually wrapped peppermints.
This is the easiest, merriest thing I have made for the holidays, and I go into overdrive baking for Christmas! I am so happy I finally attempted this gorgeous plate, and now I’m going to make more for everyone I know! It’s my new favorite craft!!
Camilla T.
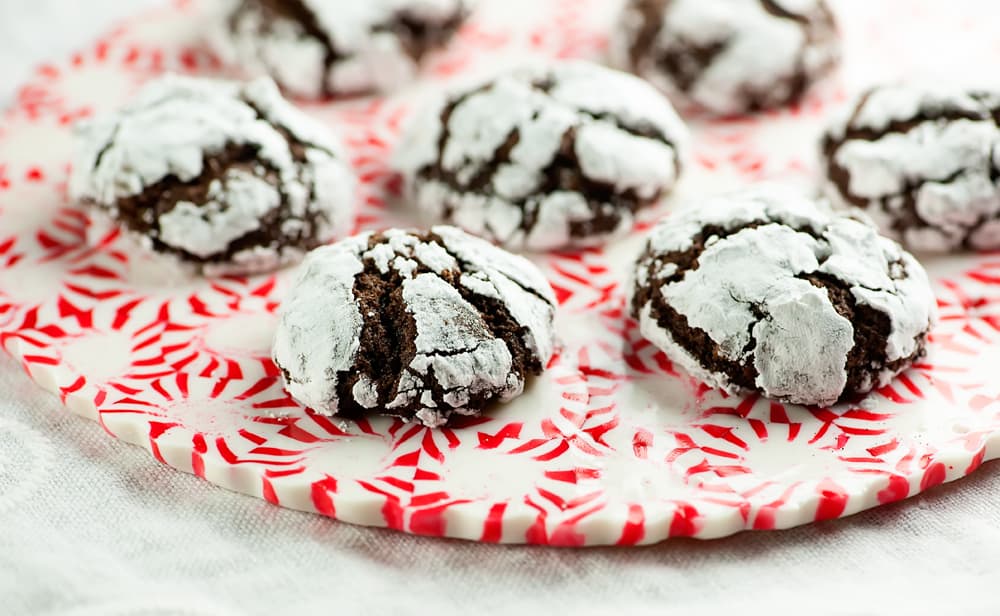
And while you absolutely CAN eat it if you want to, I used it throughout the holidays to serve up cookies. And sometimes a bowl of reindeer crunch!
So on to making your very own peppermint plate!
Ingredients you need
Ingredient notes and substitutions
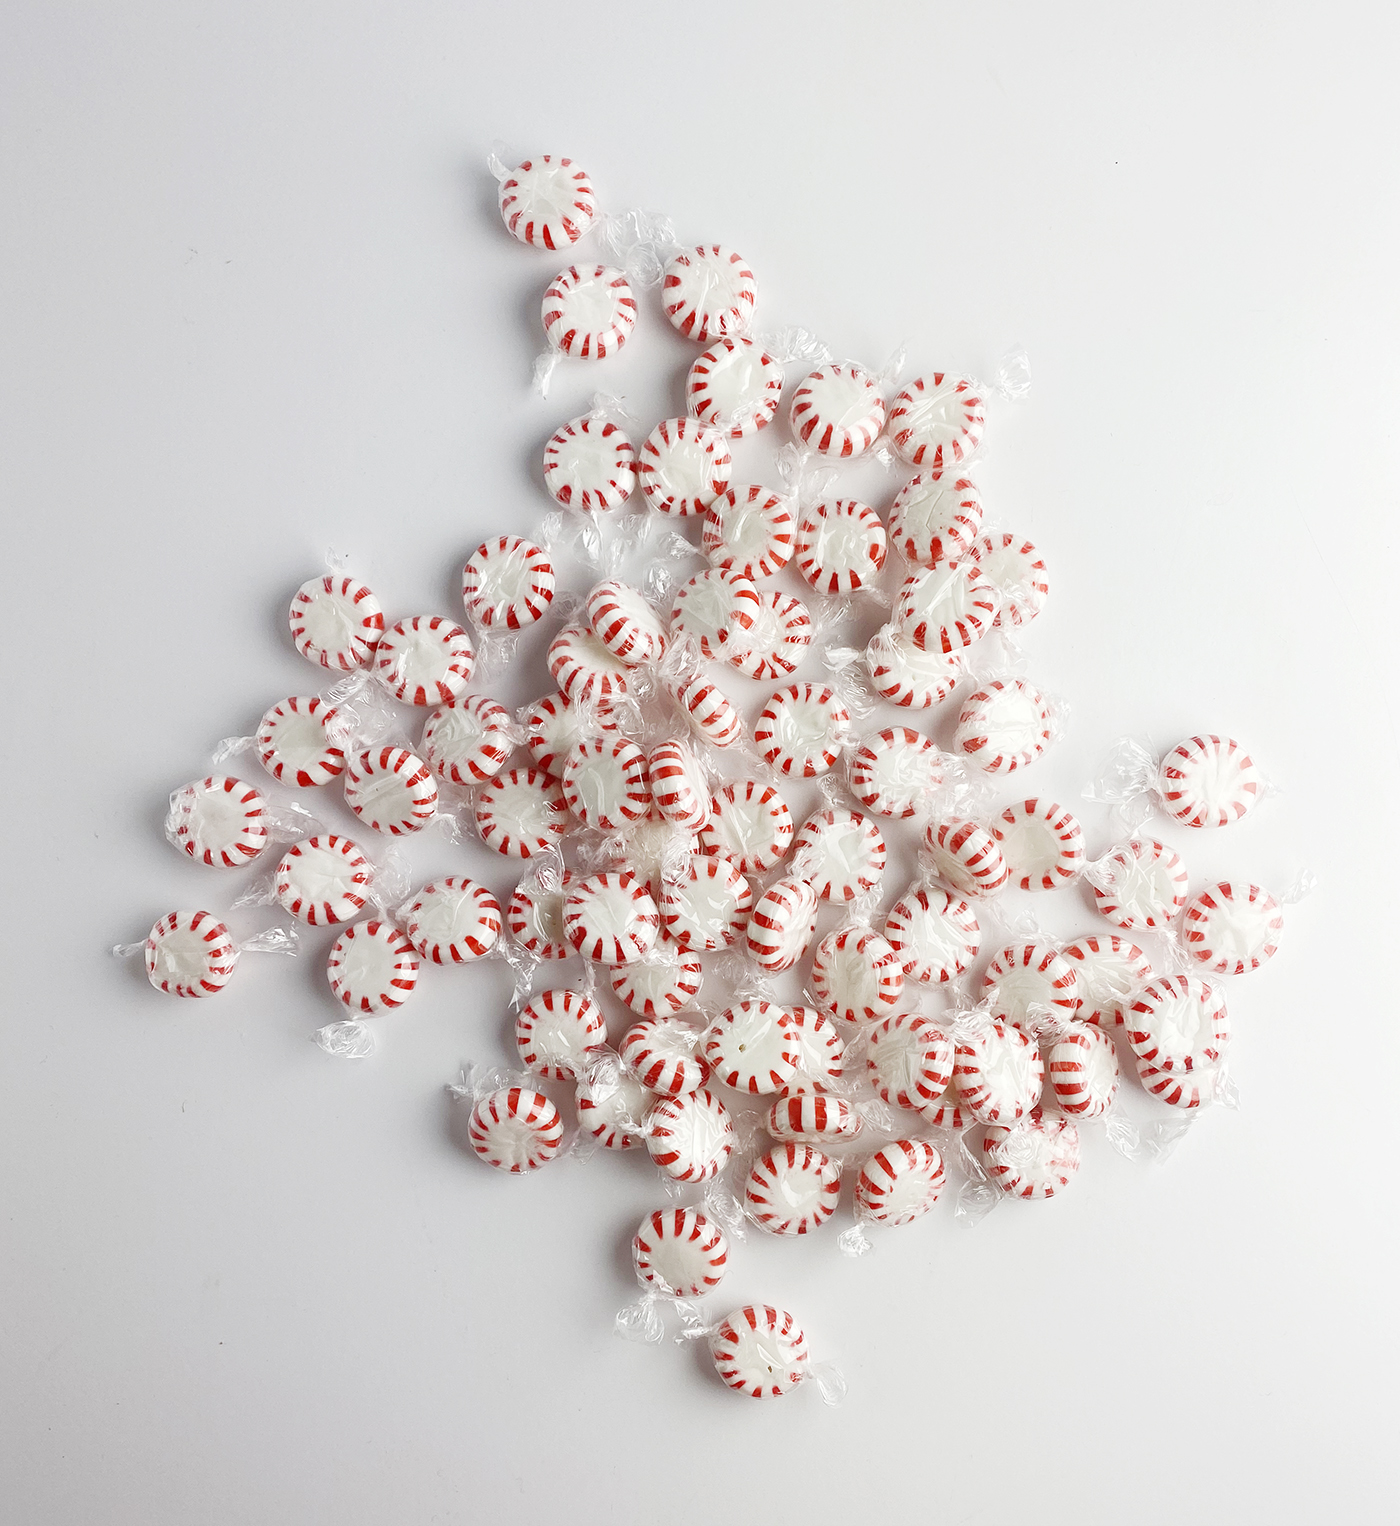
- Peppermints: You need the regular round, hard peppermint candies. I used all red and white striped ones, but they also come in green and white, so you can use those instead if you like – or mix and match!
See the recipe card for full information on ingredients and quantities.
How to make this recipe

Step 1: Get yourself a bag of round peppermint candies – you’re going to need about 70 of them. Either unwrap them yourself or find a helpful elf to do it with you.
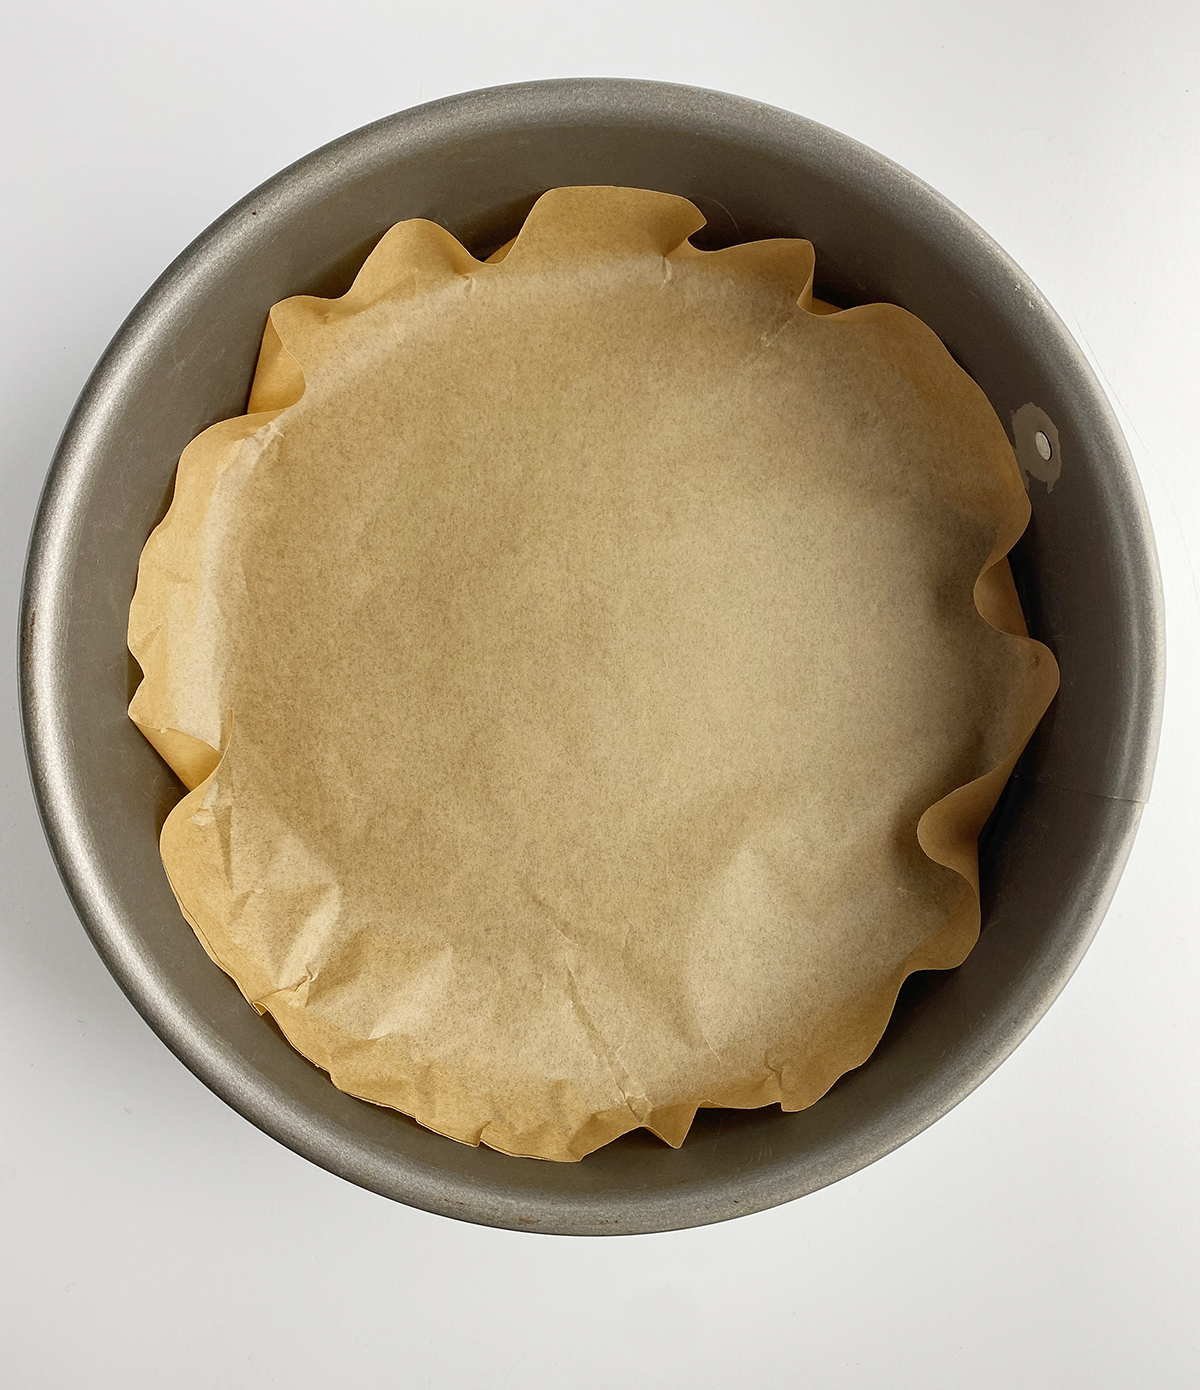
Step 2: Line the bottom of a 9 inch springform pan with parchment paper, letting about an inch or so go up the sides.
.
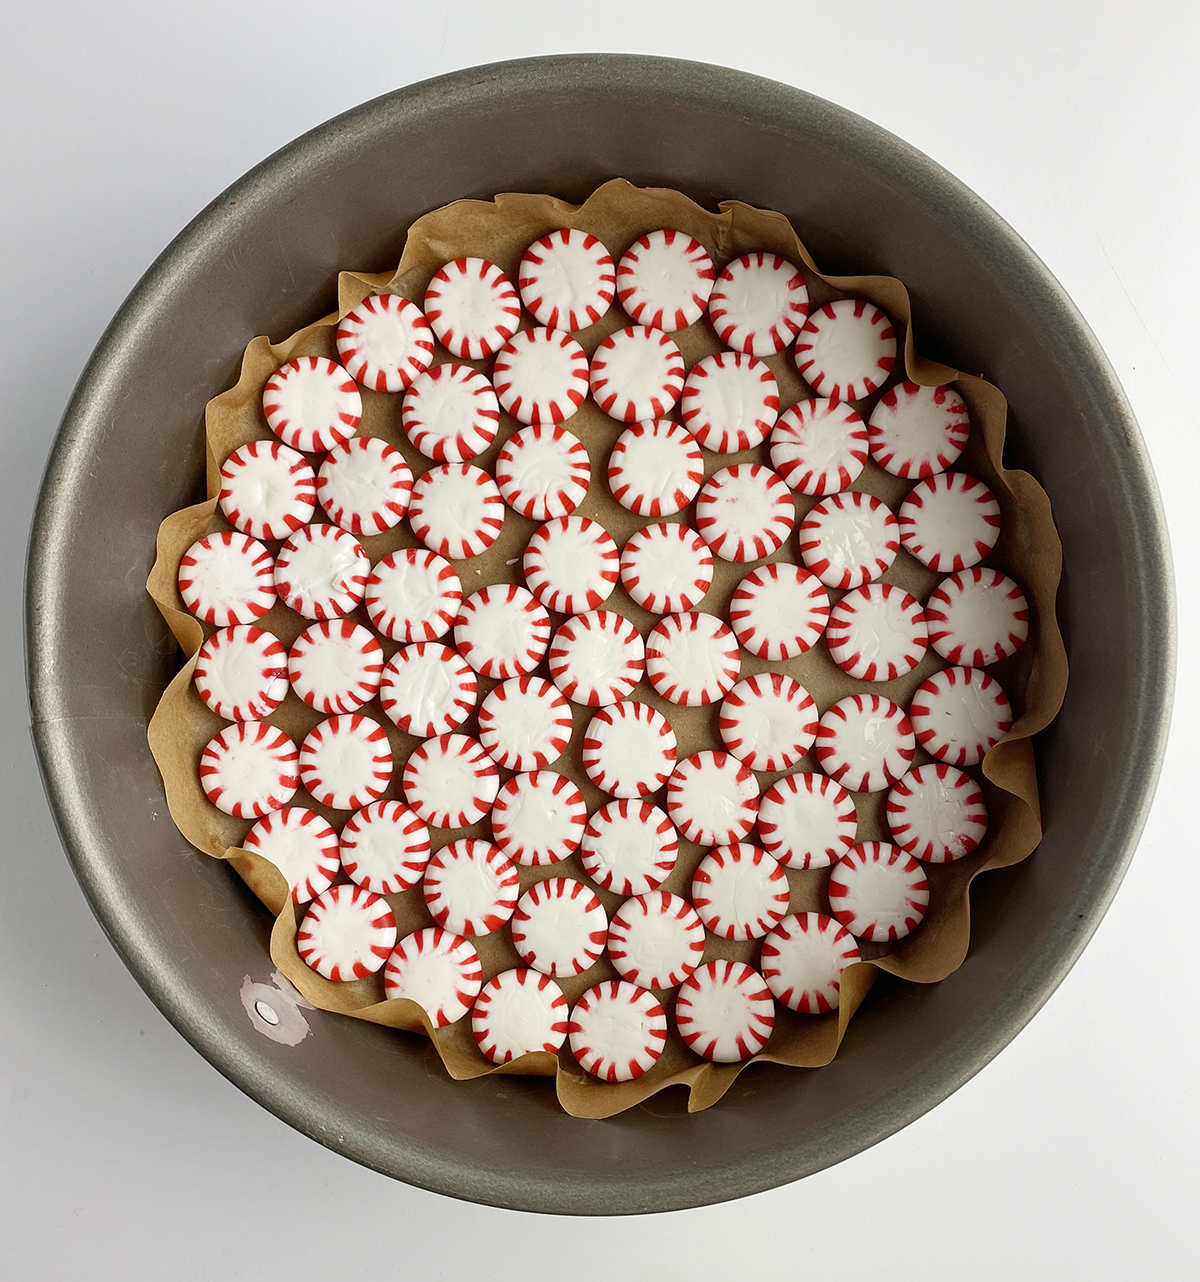
Step 3: Place the candies in a single layer on the parchment in a circular pattern, starting with the outermost ring. There will be a teeny bit of space between some of them…don’t worry! They will melt together.
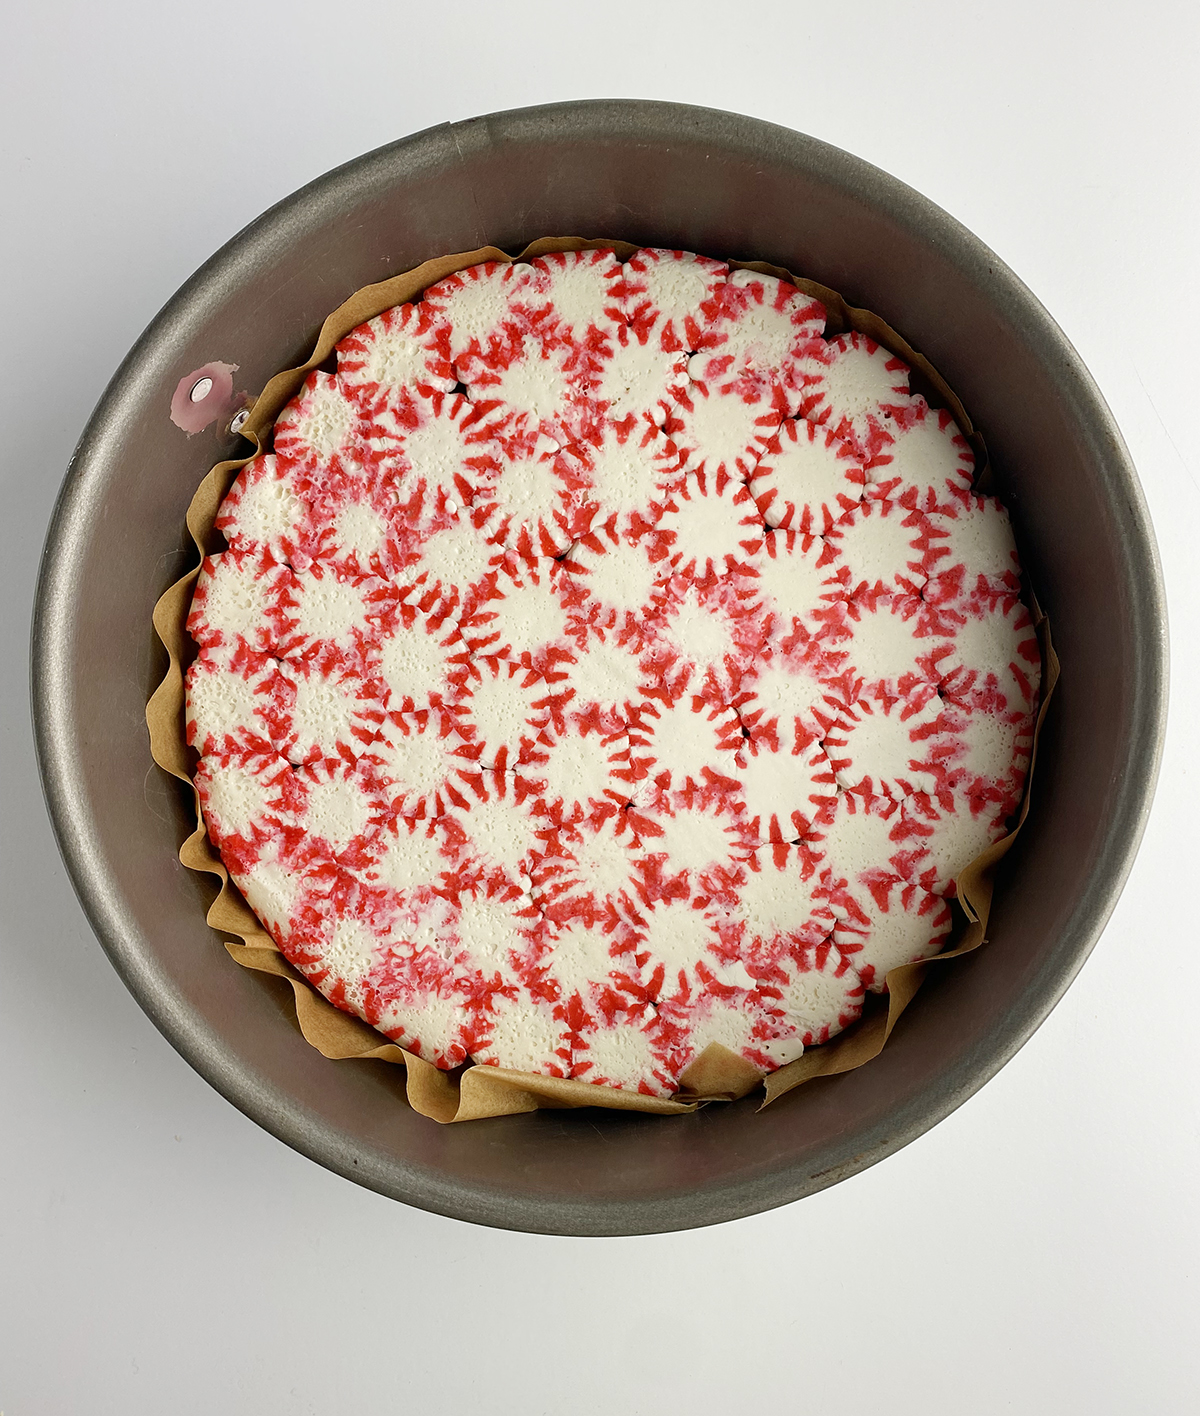
Step 4: Pop the pan into the oven for about 10 minutes until the candies have melted into each other. Let the peppermint plate cool completely before you take it out of the pan, which you should do by unlatching the springform pan and lifting the plate out carefully by the edges of the parchment paper. Toss the paper and enjoy your magical candy plate!
Recipe FAQ
They are either in the candy aisle of your supermarket, or if you are making this during the holidays check the holiday sections where the wrapping paper and other seasonal items are.
A nine inch pie or cake pan will also work – make sure you line it with parchment paper with about an inch coming up the sides.
Parchment paper is coated paper that is heat resistant, and perfect for anything sticky that you are baking…like this peppermint candy plate! You can find it in the wraps and foil section of your supermarket, and sometimes also in the baking aisle.
Sometimes a stubborn peppermint won’t fully melt into its neighbor. If this happens, while the plate is still hot (and so a little flexible) put on heat resistant pot holder gloves and smoosh down ever so gently. That should do the trick!
Pop your question in the comments section below and I will answer pronto!
PRO TIP: Sometimes the bottom of the plate will look smoother than the top, depending on how your peppermints melt. Just flip it over and call the bottom the top!
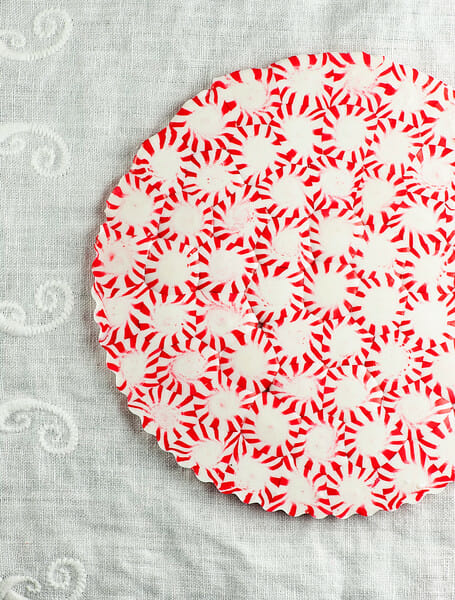
Now all that’s left is to cover the peppermint plate with peppermint brownies, or fudge or cookies, and to bask in all the admiration that will come your way for your holiday skills!
Other peppermint recipes we love!
Looking for more candy inspiration? Here are a few more of our favorite candy recipes!
And if anyone ever tells you that you can’t eat the dishes, just pull this one out and show them the wonder that is a peppermint plate!
Could you leave us a review? 😋
If you try this recipe, we would love to hear how it came out for you! I’d be super grateful if you could leave a star rating (you pick how many stars! 🌟 ) and your thoughts in the Comments section.
PrintPeppermint Plate
5 Stars 4 Stars 3 Stars 2 Stars 1 Star
5 from 3 reviews
This easy to make peppermint plate looks good enough to eat. As a matter of fact, you CAN eat it!
- Author: Kate MorganJackson
- Prep Time: 10 minutes
- Cook Time: 10 minutes
- Total Time: 20 minutes
- Yield: 1 plate 1x
- Category: Dessert
- Method: Oven
- Cuisine: American
- Diet: Vegetarian
Ingredients
- 70 round peppermint candies, unwrapped
Instructions
- Preheat oven to 350 and line a 9 inch springform pan with parchment paper.
- Place the peppermints in a circular pattern on the parchment, leaving a little space in between them.
- Bake for about 10 minutes or until the candies have melted into each other.
- Cool completely, then unmold the springform pan, take the plate out and peel the parchment off the bottom.
Notes
Peppermints: You need the regular round, hard peppermint candies. I used all red and white striped ones, but they also come in green and white, so you can use those instead if you like – or mix and match!

Patti says
My candy plates are easily breaking, what can I do to prevent this fro happening?
Hi Patti! Are you using regular size peppermints? I would either do a double if you are using smaller ones, and if you are using the regular size just make sure the plate is totally cooled before you use it. Hope this helps! :)
Pamela J. Follett says
I love it ! I would like to know how your Mom found out the mints would melt.
You know, I’m not sure! She is secretive about her cooking tricks. :)
Kathy @ Beyond the Chicken Coop says
Love this! Super clever and oh so festive!
Dixie says
Love the peppermint plate.
I don’t have A springform pan. Can I use another type pan ?
You can use a round cake pan, just make sure that the parchment extends up around the edges so it doesn’t stick to the sides.
ColleenB.~ Tx. says
I have used a glass pie plate before; bringing the parchment paper up and over the edges of the pie plate.
Have also used a 8×8 sq. pan; doing the same as the pie plate; making sure the parchment paper extends over the sides of the pan.
Want a long serving platter; use a small baking sheet; just making sure that it is well covered with parchment paper as you don’t want any of the candies touching the pan itself.
Thanks Colleen – great suggestions! :)
Adina says
Oh my, that’s so pretty, I have never seen anything like it!!!
Stephanie | The Foodie and The Fix says
So, Kate… your mama is amazing. And definitely magical. This plate is neat and SO pretty! My kids would love doing this, too! Plus those floral arrangements are GORGEOUS. I have zero talent in that arena. The hubs brought me home some flowers the other day and I’m here to tell ya, they don’t look like any of those! Also, that magnetic board looks awesome, I think I might need one! Pinning, my friend!
Amanda says
Wow. Your mom really has an artistic eye. Those arrangements are fabulous! And that peppermint plate is so fun. How cute would a wedding cake look sitting on a big one for a winter wedding?! ????
Demeter | Beaming Baker says
This is SUCH a cool idea!!! Kate, your mom is the BEST!!! Love that it’s so simple, and yet so ridiculously clever. :) Now I know where you get your genius from. Happy Holidays, friend! :)
grace says
what an extremely crafty idea! this is definitely worth trying–thanks for sharing!
Cheyanne @ No Spoon Necessary says
Oh my goodness, your mother is fabulously creative!!! All the floral arrangements she made for you are gorgeous! And this plate is EVERYTHING Christmas should be about! So FUN and perfectly festive! I am just swooning over this idea!!! I can’t wait to give it a try! I am making cookies for Boy to give to a bunch of his clients, so I’m thinking that putting them on this plate and wrapping it in pretty clear wrapping (like gift baskets) would be so fun! YAY! Thanks so much for this idea!! PINNED! Cheers!
Mary Ann | The Beach House Kitchen says
Looks like you and your mom are both extremely creative Kate! Love the arrangements and the peppermint plate!
Lisa Keys says
my friend did a mix of red and green mints and it is stunning
Dawn @ Girl Heart Food says
Your mom certainly has talent! Looks beautiful! And this candy plate is just too darn cute!! I would love to make this for Christmas as a serving platter…the longest part would be unwrapping all those candies ;) Pinned!
Megan - The Emotional Baker says
Your mom is magic!!! This plate is perfect for the holidays! I’d love to serve a big batch of cookies on one :)
Gayle @ Pumpkin 'N Spice says
Oh this is SO fun, Kate! Your mom has wonderful ideas and such a great style. I’ve heard of this before, but have never tried it. Looks so fun for the holidays and so easy, too. Pinned!
Thanks for the pin, Gayle! It’s a great project to do with the kiddos!