
Boston Cream Pie Cupcakes
These easy Boston cream pie cupcakes pair tender yellow cake with creamy vanilla pudding and a rich chocolate glaze for your own personal version of the classic dessert!

If you’ve been around my kitchen for a while, you know I love turning delicious things into their own personal cupcake or muffin versions. Lasagna? Absolutely. French toast? You bet. So it was only a matter of time before Boston cream pie got the same treatment!
These little beauties have all the good parts: tender yellow cake, creamy vanilla pudding and a glorious chocolate glaze that drips down the sides. And we’re happily using cake mix and instant pudding to make things easier, because dessert shortcuts are welcome in this kitchen. Grab a fork—your own personal Boston cream pie is waiting! 🧁🍫
Jump to:
- 🔎 A quick look at this recipe
- ⭐️ Why this recipe works
- 🤔 What is Boston cream pie?
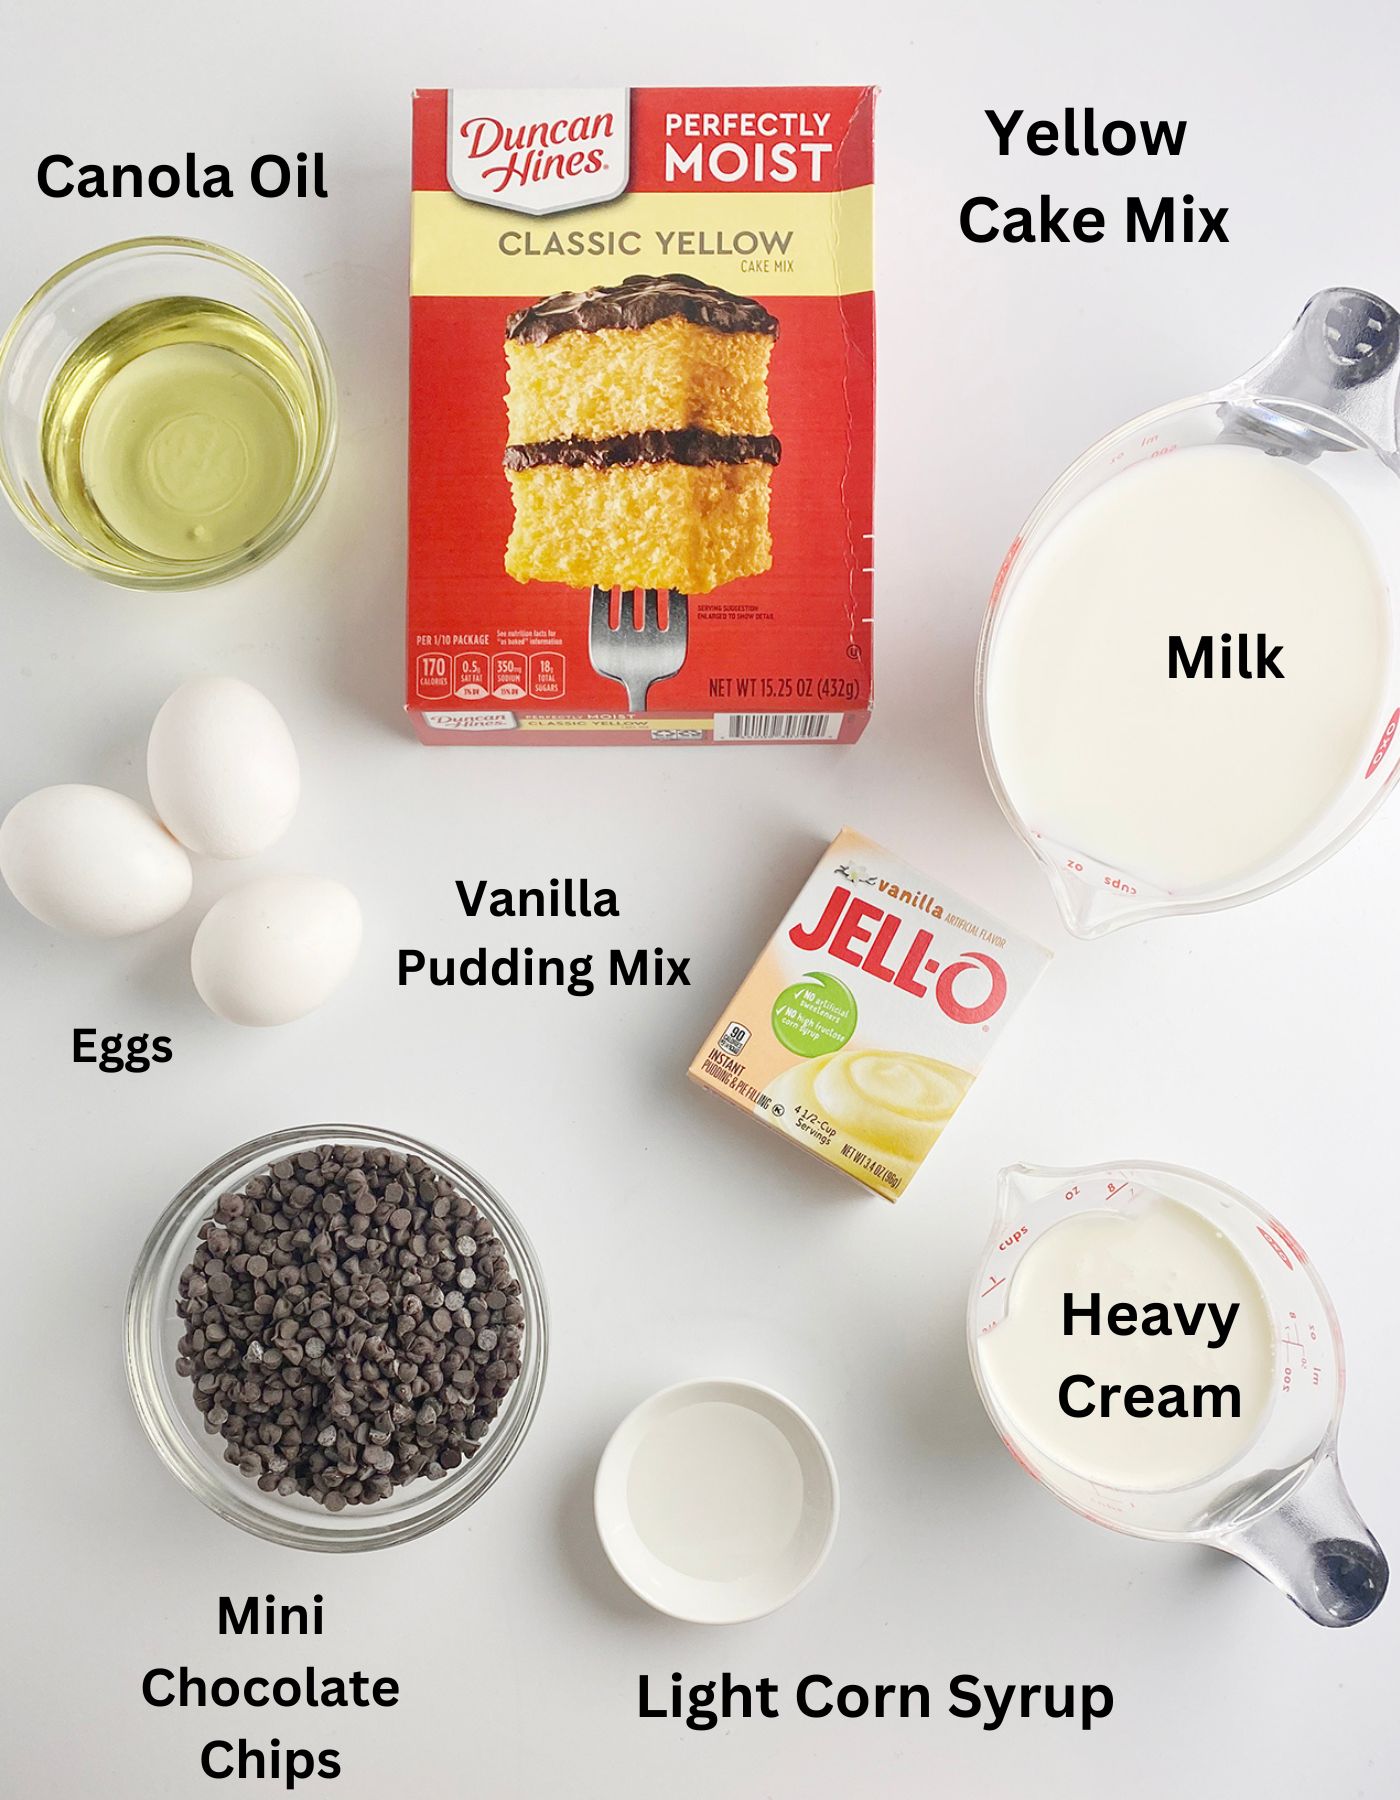
- 🍰 Ingredients you need
- 📝 Ingredient notes
- 💡 Ingredient substitions
- How to make this recipe
- Recipe FAQs
- Boston Cream Pie Cupcakes
- 💫 Variations on this recipe
- Other cupcake recipes we love
- ⭐️ We want to know what you think!
- 🥣 Come on into our kitchen!
🔎 A quick look at this recipe
- What It Is: Yellow cupcakes filled with vanilla pudding and topped with a rich chocolate glaze.
- Prep Time: 20 minutes
- Cook Time: 20 minutes
- Total Time: 40 minutes, plus cooling
- Servings: 24 cupcakes
- Cooking Method: Oven and stovetop
- Good For: Parties, potlucks and personal-sized dessert happiness!
⭐️ Why this recipe works
- 🧁 Everyone gets their own: All the deliciousness of Boston cream pie in a personal-sized dessert.
- 🛒 Shortcuts keep it simple: Cake mix and instant pudding make this an easy baking project.
- 🍮 The filling is wonderfully creamy: Vanilla pudding adds a luscious layer between the tender cupcake halves.
- 🍫 The glaze makes it special: Chocolate and heavy cream create a rich, smooth topping that drips deliciously down the sides.
- 🔪 No piping bag needed: Simply slice, spoon in the filling and put the tops back on!
- 🎉 One batch feeds a crowd: You’ll have 24 little treats to share at parties and potlucks.
🤔 What is Boston cream pie?
Despite its name, Boston cream pie is actually a cake! This classic dessert layers tender yellow cake with creamy vanilla custard and tops it with a rich chocolate glaze. Our cupcake version keeps that delicious combination, using vanilla pudding for an easy filling and giving everyone their own little cake. No pie crust required! 🧁🍫
🍰 Ingredients you need
📝 Ingredient notes
- Cake mix: Use your favorite yellow cake mix, along with the ingredients called for on the box. Follow its cupcake baking directions; the number of cupcakes may vary with the package size.
- Vanilla pudding: Instant vanilla pudding keeps things easy! Prepare it with the milk and quantities specified on the package, then refrigerate until set.
- Chocolate: Finely chopped semisweet chocolate makes a rich, smooth glaze. Semisweet mini chocolate chips also work—no chopping needed.
- Heavy cream: Use heavy cream or heavy whipping cream for the chocolate glaze.
- Corn syrup: A little light corn syrup gives the glaze shine. This means the clear variety, not “lite” or reduced-calorie syrup.
💡 Ingredient substitions
Missing something or want to swap in something different? Check out the links below to find more ingredient substitution ideas. 👇🏻
See the recipe card for full information on ingredients and quantities and nutritional information.
How to make this recipe
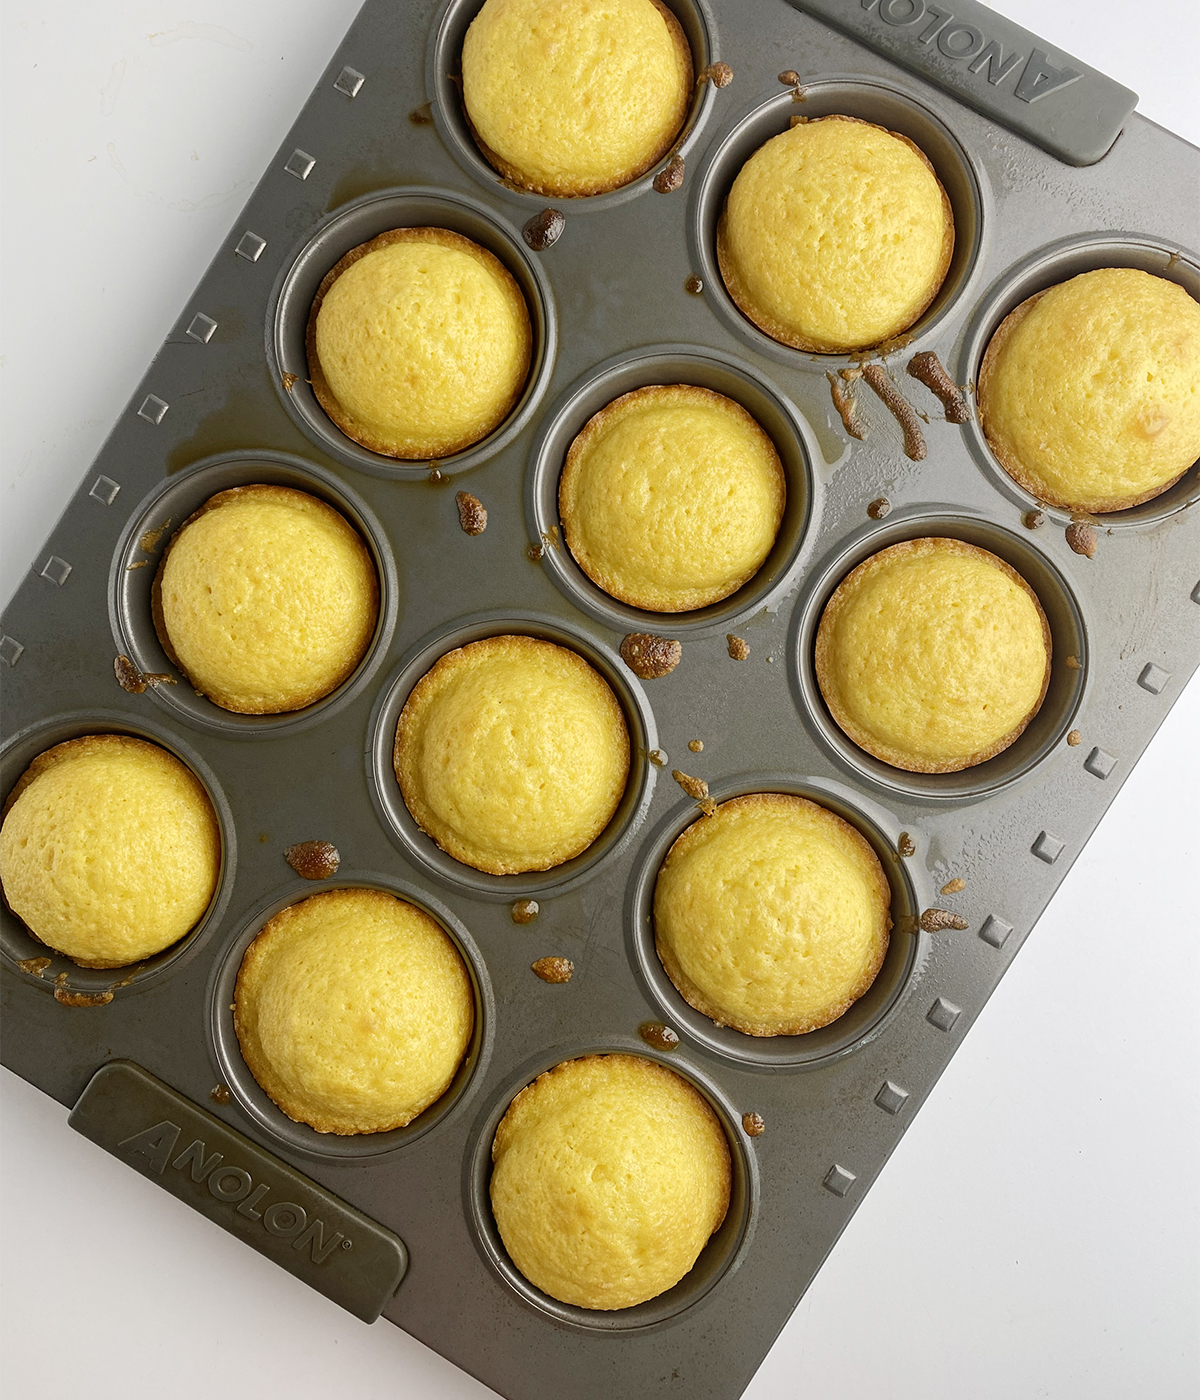
STEP 1: Grease two 12-cup muffin pans. Prepare your yellow cake mix and bake the cupcakes according to the package directions.
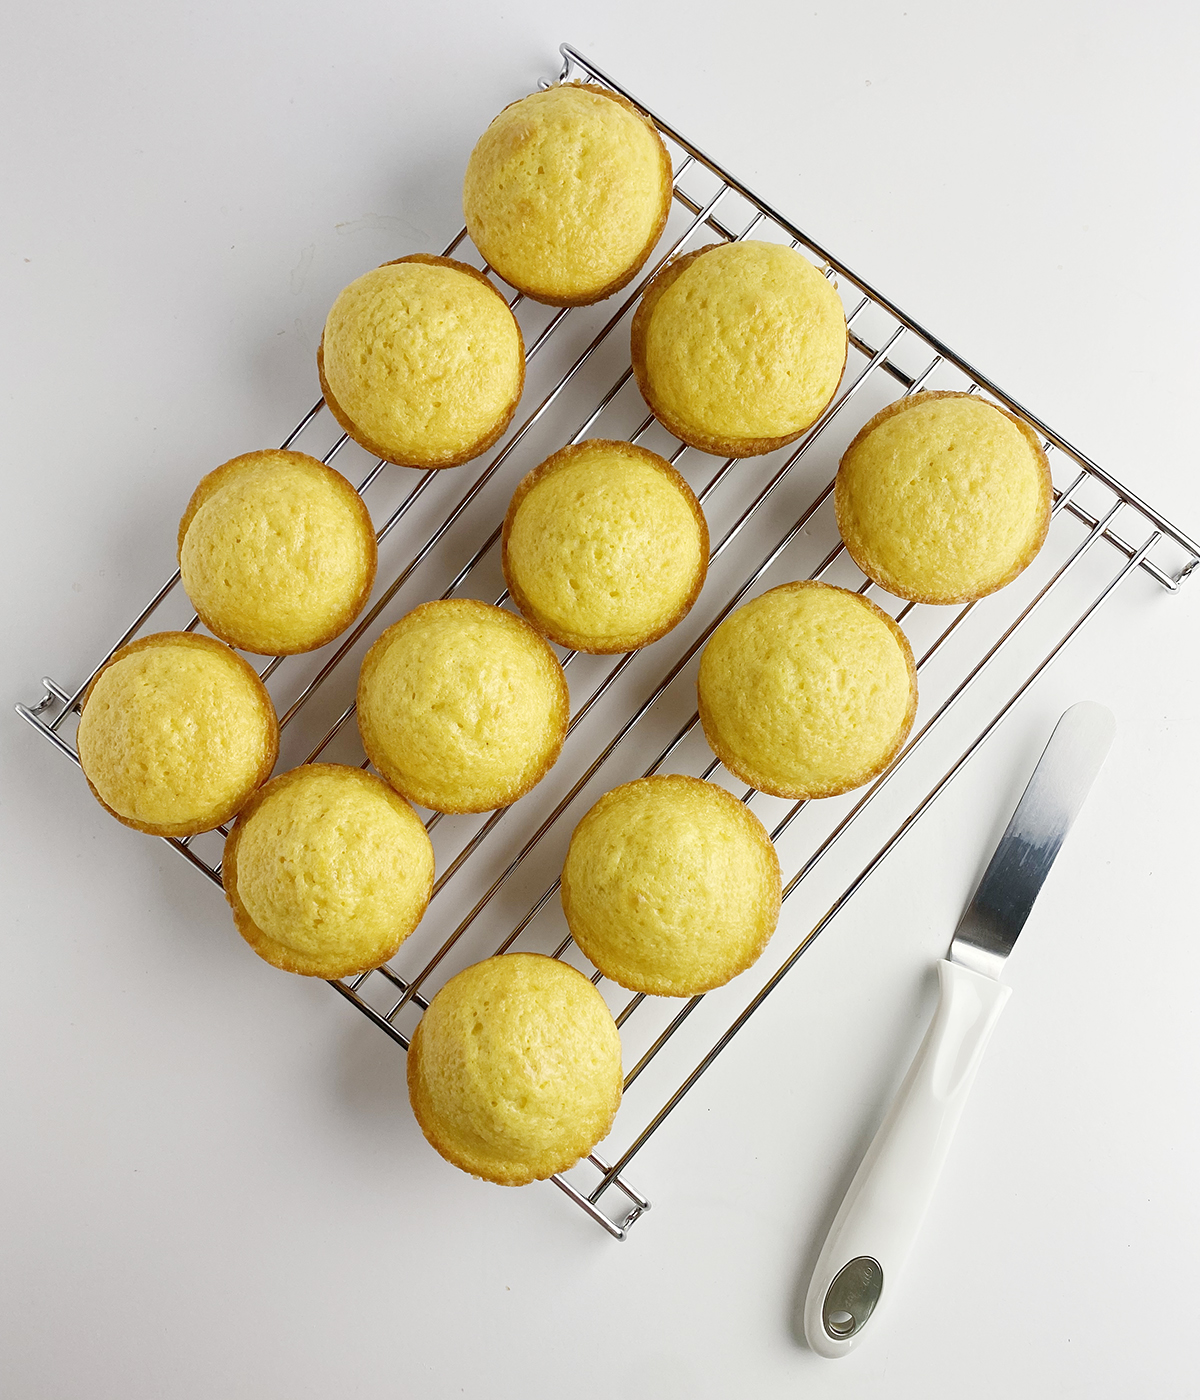
STEP 2: Let the cupcakes cool in their pans for about 15 minutes, then carefully transfer them to a cooling rack to cool completely. An offset spatula helps gently loosen any stuck edges!
.
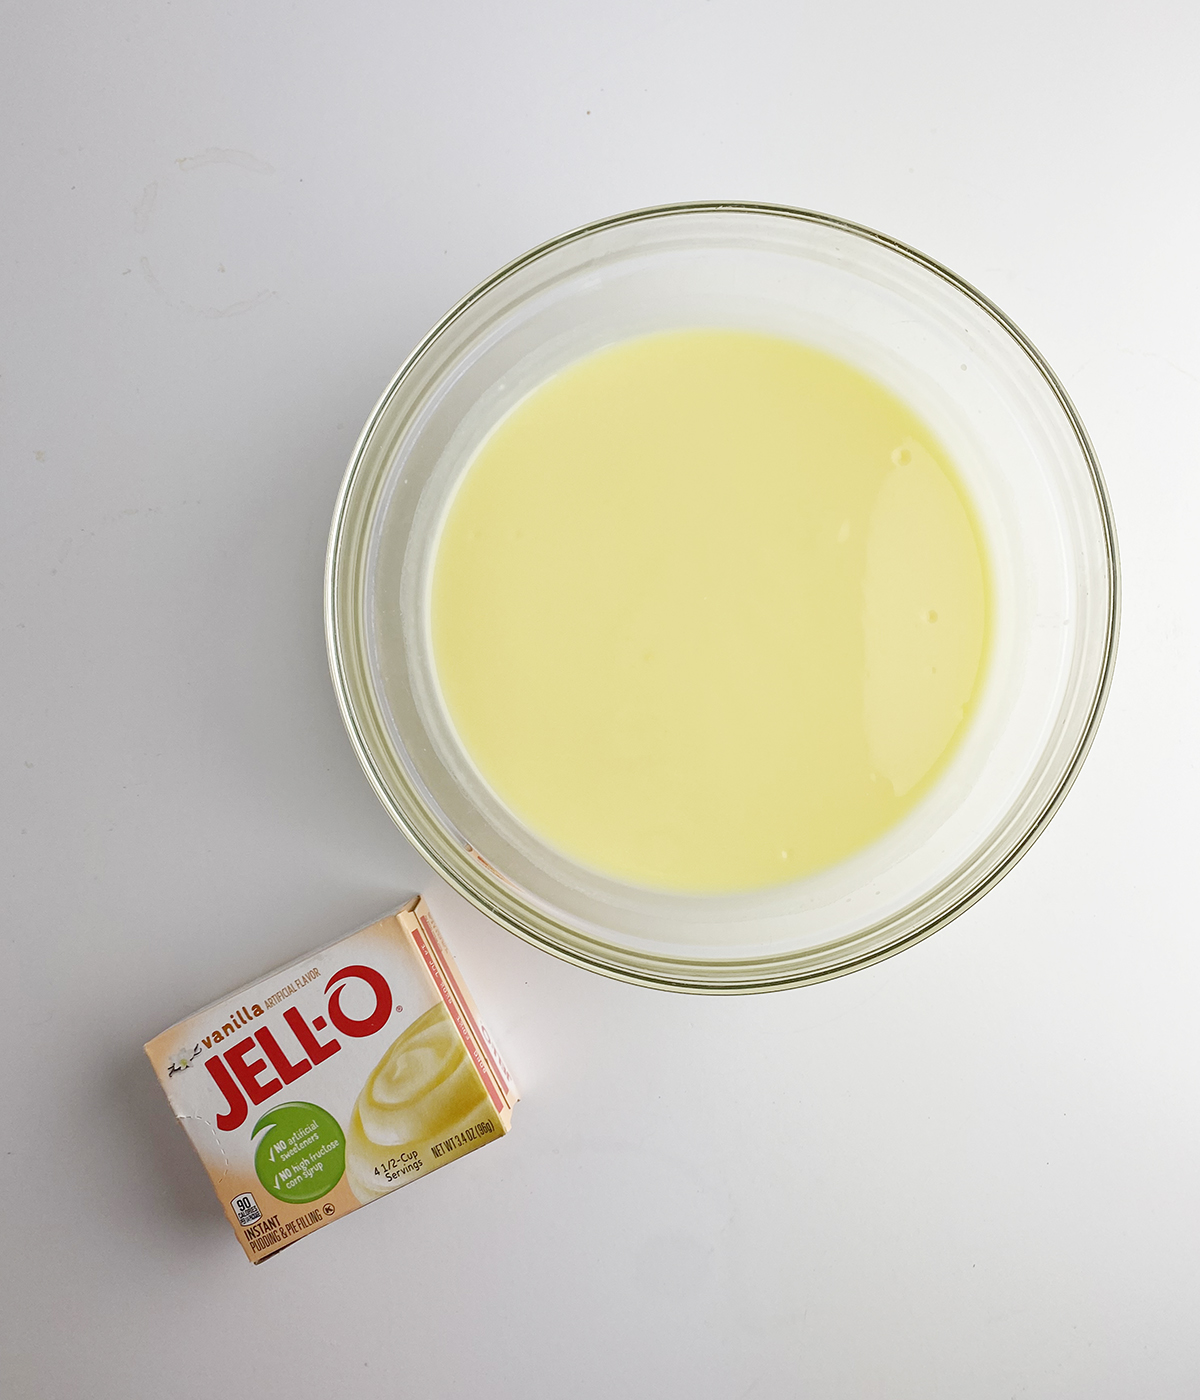
STEP 3: Prepare the instant vanilla pudding according to the package directions. Refrigerate until set and keep it chilled until you are ready to assemble the cupcakes.
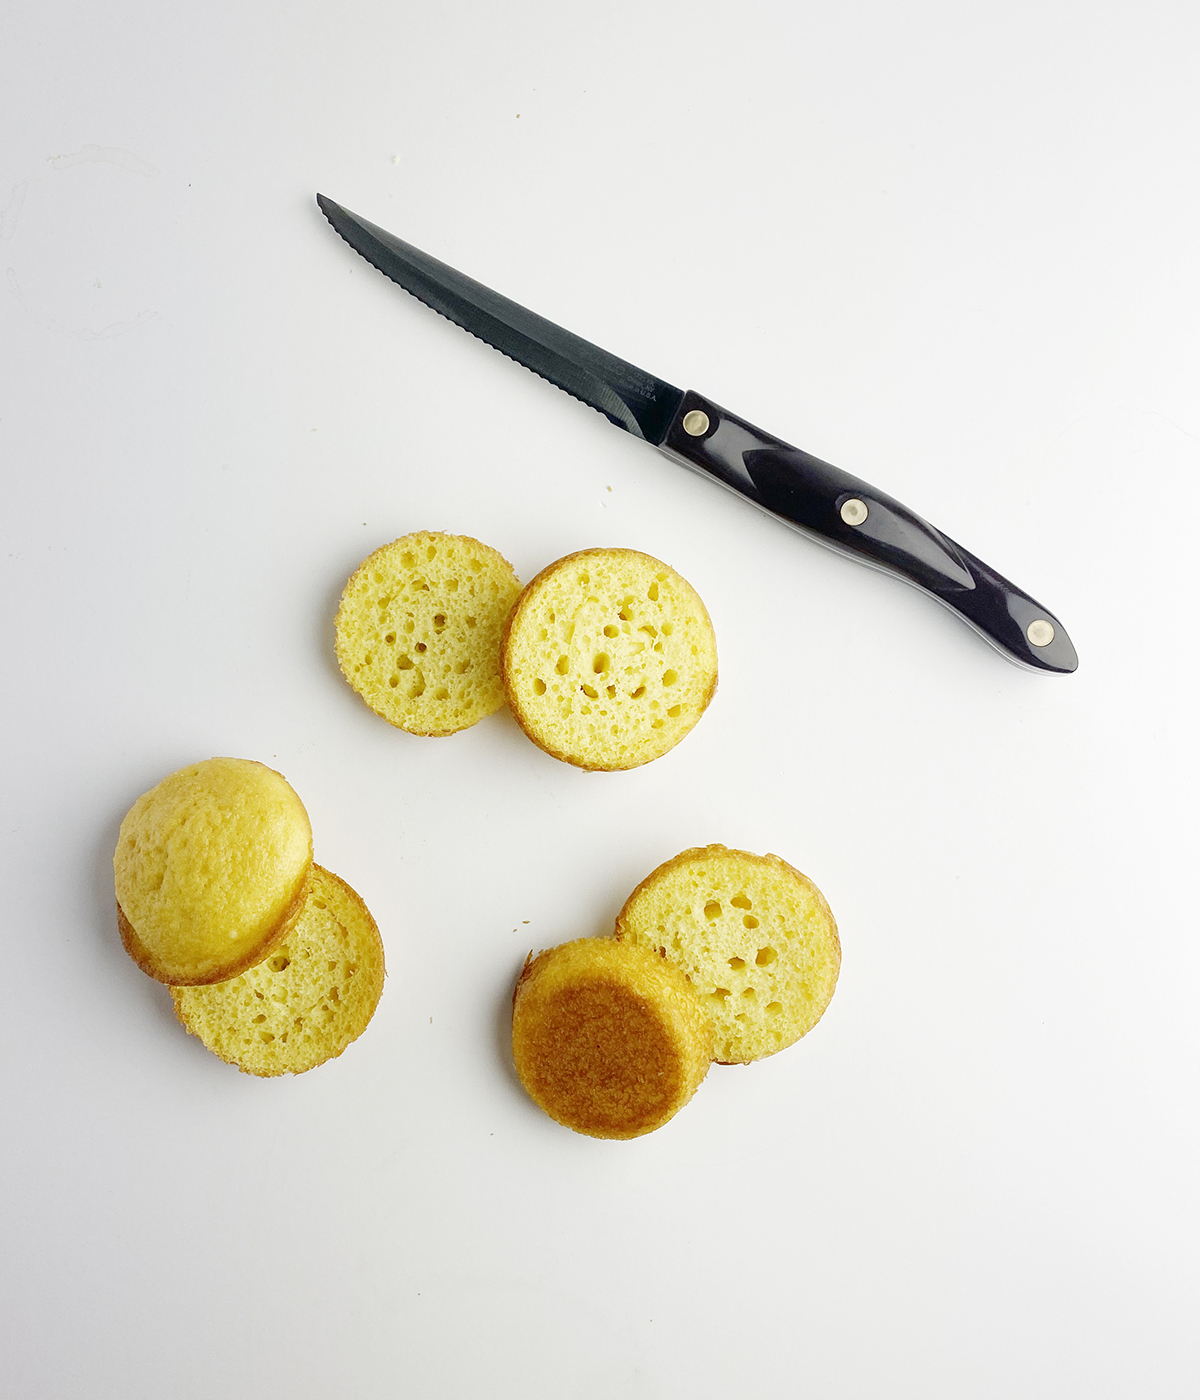
STEP 4: Once the cupcakes are completely cool, use a serrated knife to slice each one in half horizontally.
.
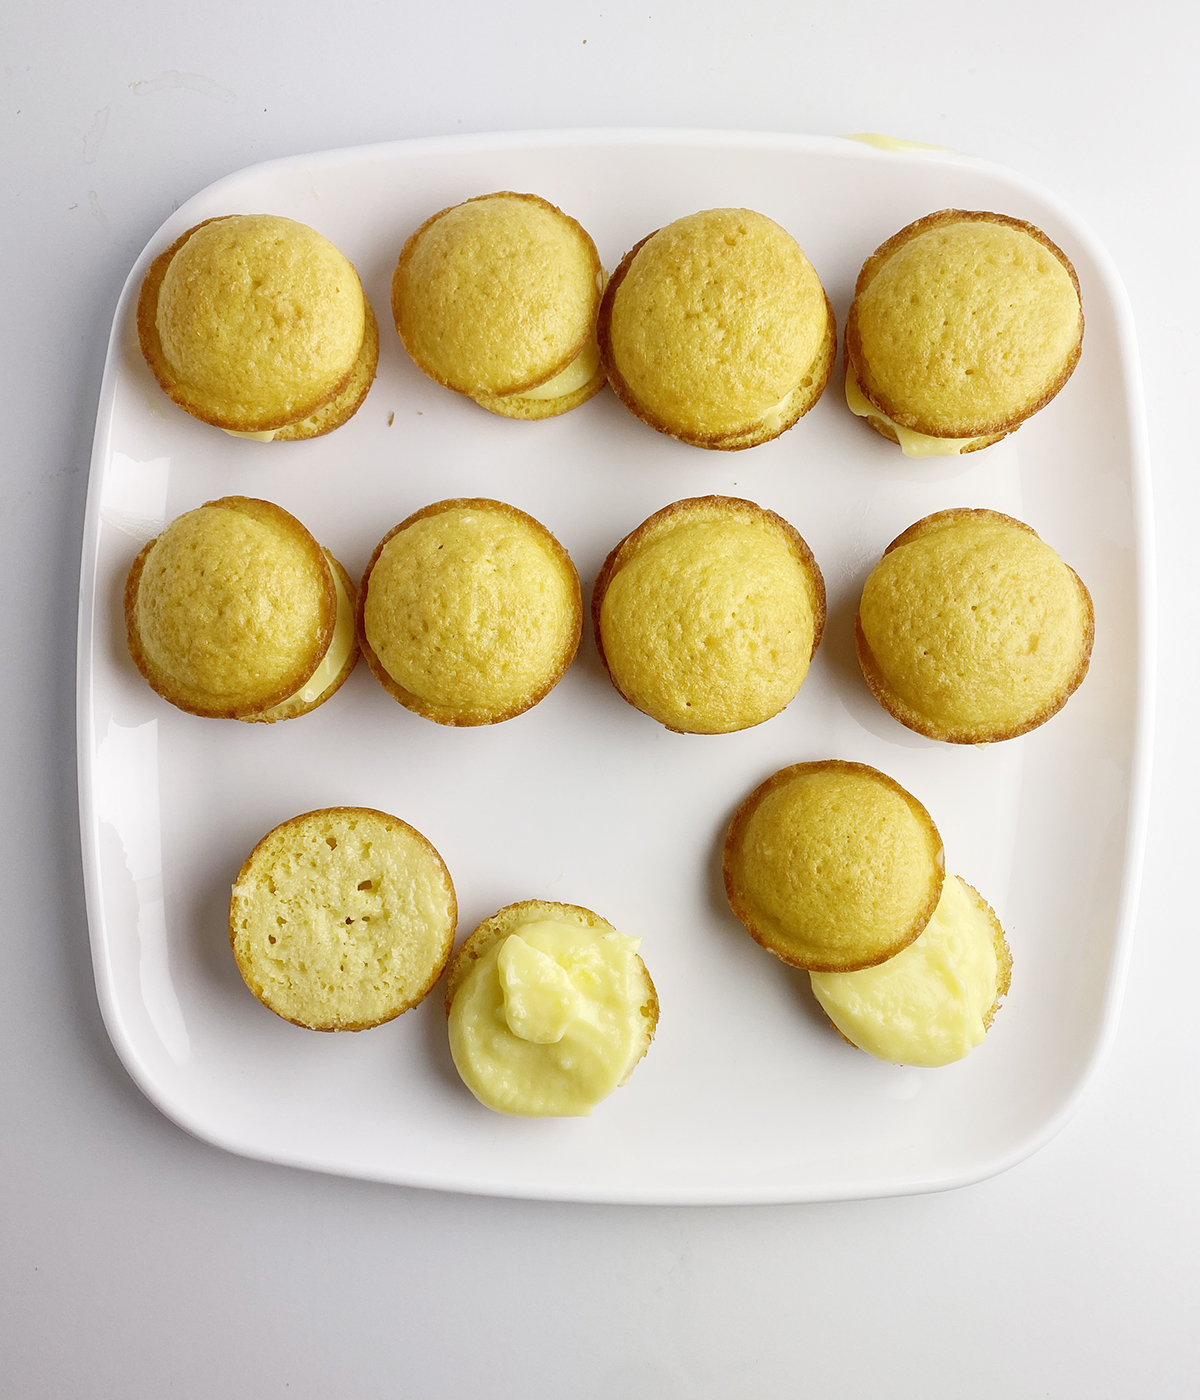
STEP 5: Spoon about a tablespoon of vanilla pudding onto each cupcake bottom, then gently replace the top half.
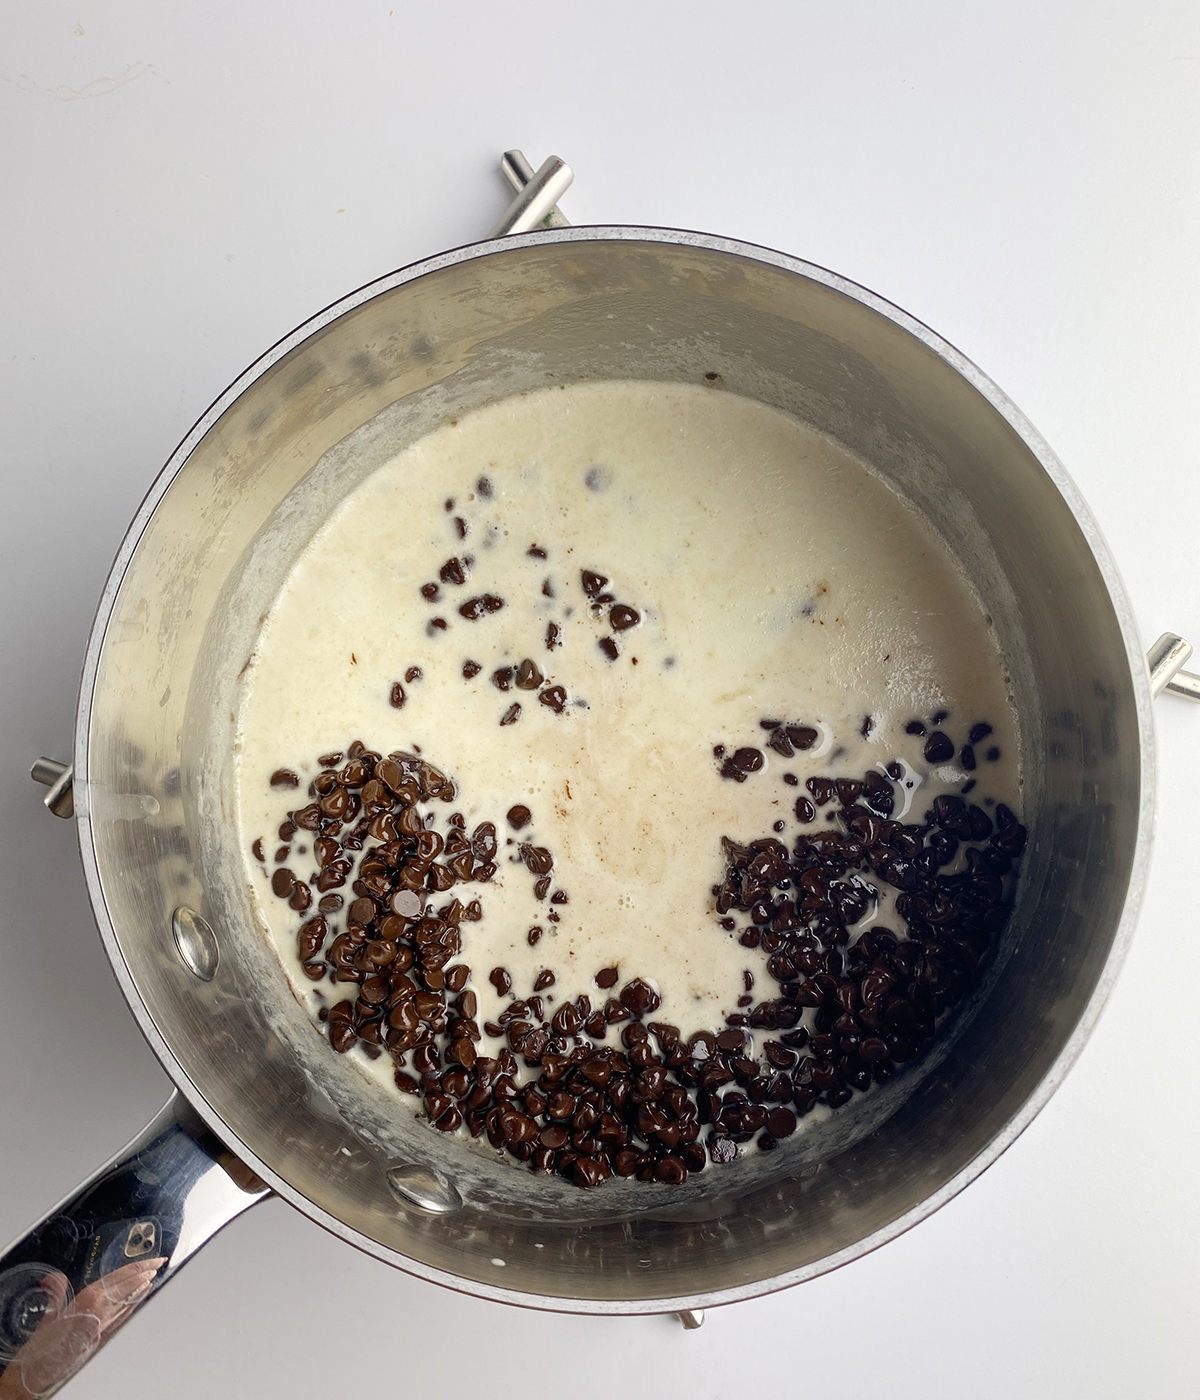
STEP 6: Chocolate time! Bring the heavy cream just to a boil in a small saucepan, then remove it from the heat. Add the finely chopped chocolate and light corn syrup. Let stand for five minutes, then stir until smooth.
.
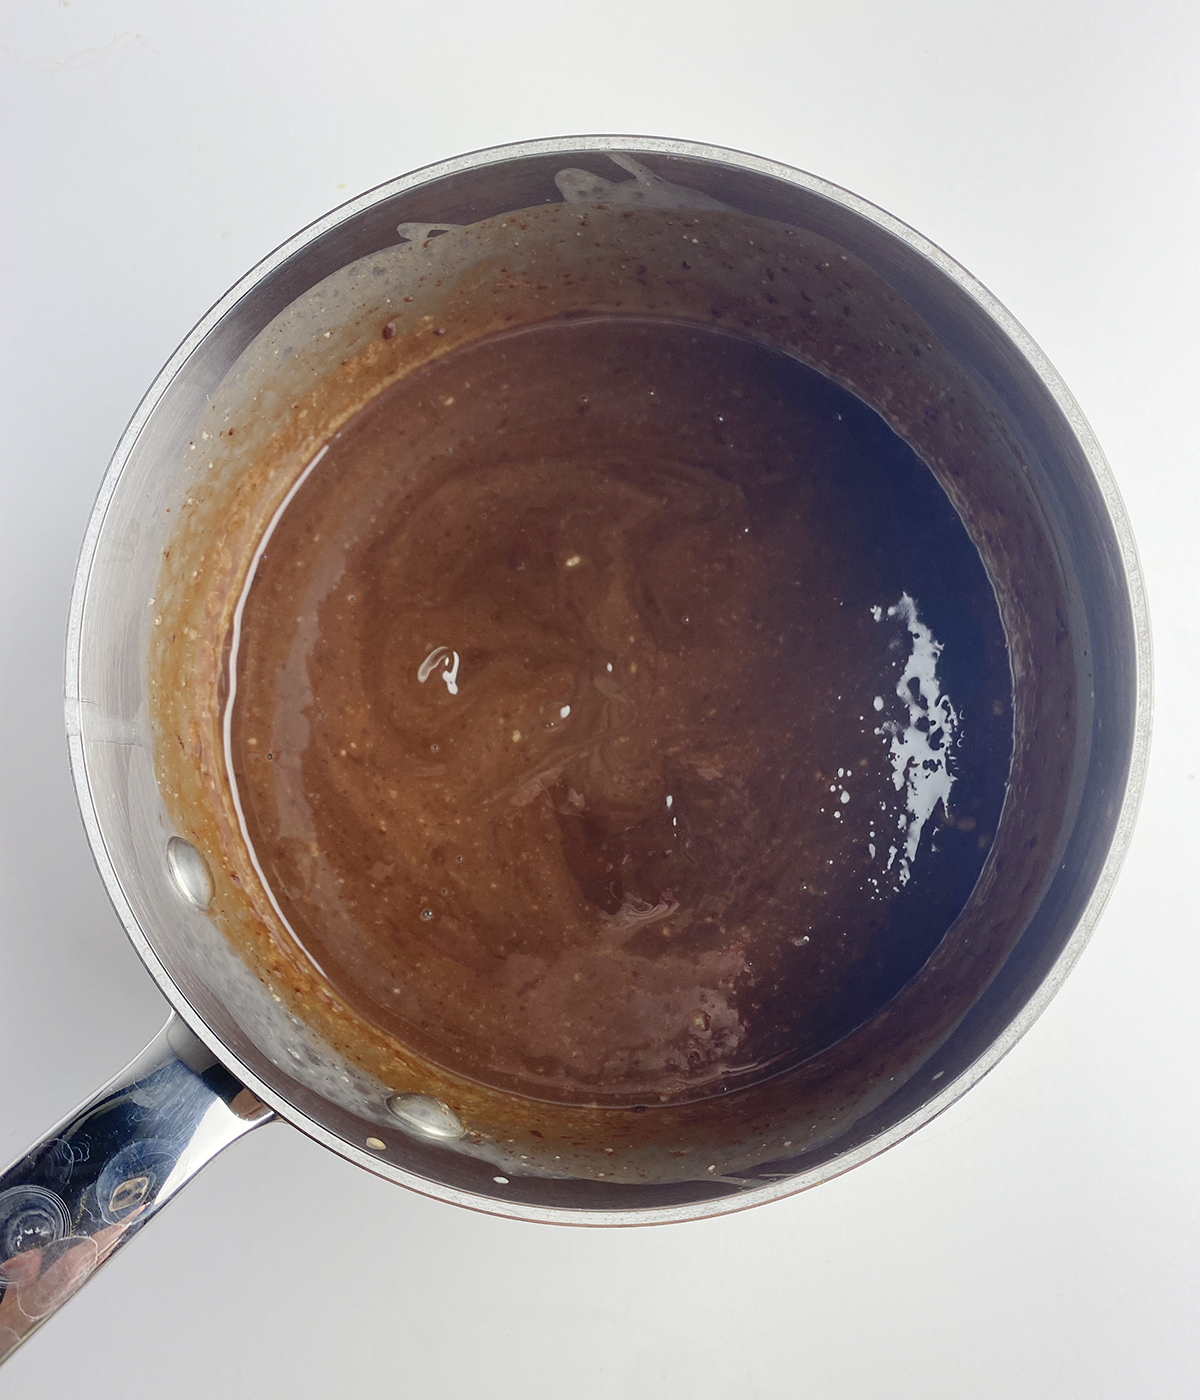
STEP 7: Let the chocolate glaze cool for about 10 minutes, stirring occasionally, until it thickens slightly but is still easy to drizzle.
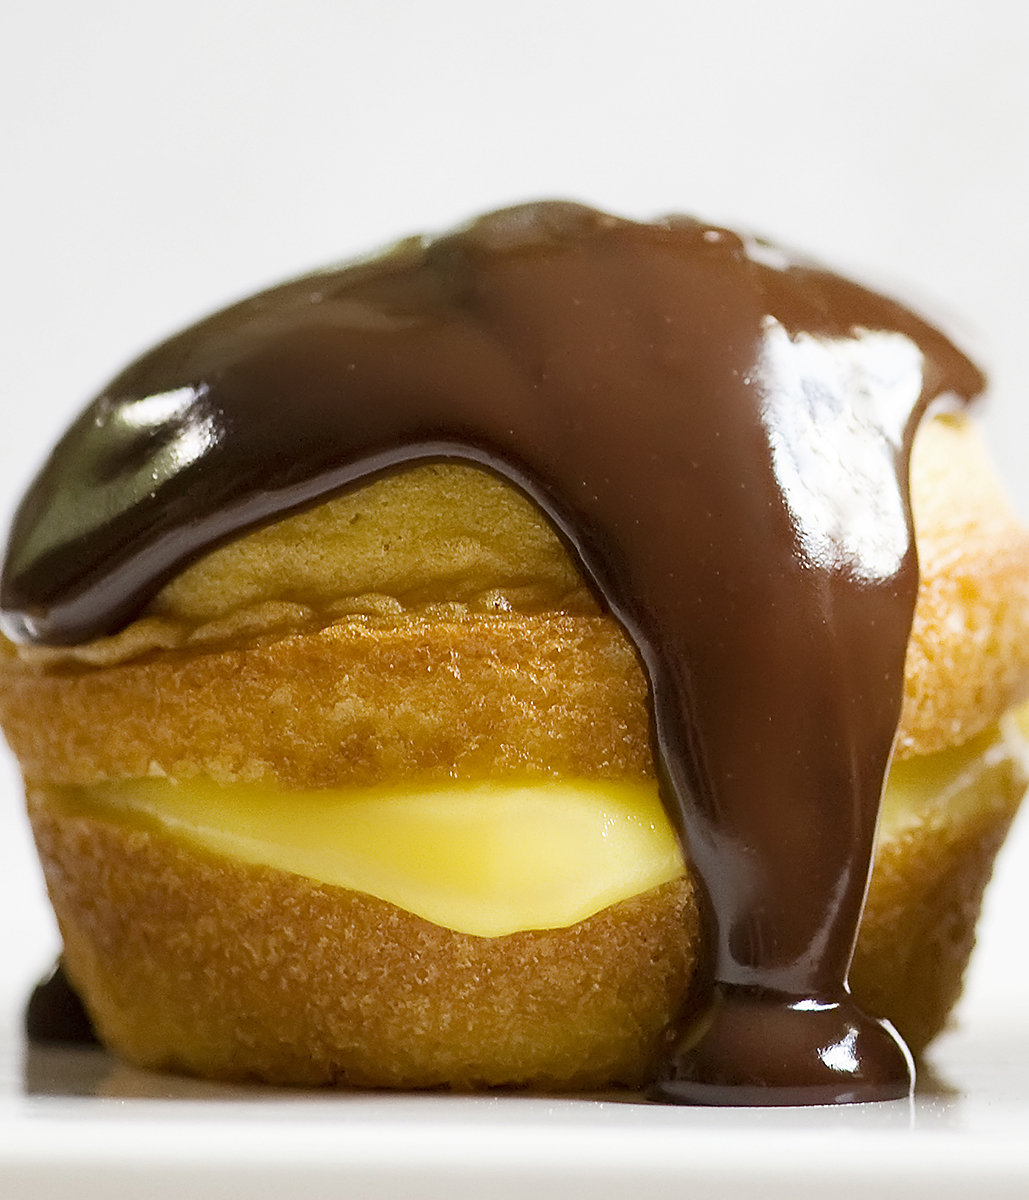
STEP 8: Spoon about a tablespoon of glaze over each cupcake, letting it drip down the sides. Serve right away, or cover and refrigerate until serving.
PRO TIP: Put parchment paper underneath the cooling rack before glazing the cupcakes to catch those chocolate drips. Easy cleanup!
Recipe FAQs
Absolutely! Your favorite yellow cupcakes and a thick vanilla custard will work beautifully. Cool the cupcakes completely and chill the filling before assembling.
We like good old Jello instant vanilla pudding mix, but again, any regular vanilla (including the non-instant version) will work. Look for the 3.4 ounce box.
Yes! Assemble them up to one day ahead, cover and refrigerate. Use a tall covered container so the lid doesn’t touch that glorious chocolate glaze. They’re best within a day because the pudding gradually softens the cake.
You can! Peel them off once the cupcakes are completely cool, before slicing and filling.
It may still be too warm. Let it cool a little longer, stirring occasionally, until it thickens enough to coat the cupcakes while still dripping down the sides.
Yes—the vanilla pudding filling needs to stay chilled. Keep the cupcakes covered in the refrigerator until you are ready to serve.
Pop your question in the comments below and I will answer pronto!
Let’s grab our forks and drizzle our way to Boston cream cupcake happiness! 🧁🍫

Boston Cream Pie Cupcakes
All the wonderfulness of traditional Boston Cream Pie, but in cupcake form! Make this easy recipe for Boston Cream Pie Cupcakes for someone you love.
- Prep Time: 20 minutes
- Cook Time: 20 minutes
- Total Time: 40 minutes
- Yield: 24 cupcakes 1x
- Category: Dessert
- Method: Oven, Oven and Stovetop
- Cuisine: American
- Diet: Vegetarian
Ingredients
- 1 box yellow cake mix, plus ingredients called for on the package
- 1 box instant vanilla pudding mix, plus milk called for on the package
- 2/3 cup heavy cream
- 6 ounces semisweet chocolate, finely chopped
- 1 tablespoon light corn syrup
Instructions
- Preheat the oven according to the cake-mix package directions. Grease two 12-cup muffin pans or line them with cupcake liners.
- Prepare the cake batter and bake the cupcakes according to the package directions. Let cool in the pans for about 15 minutes, then carefully transfer to a rack to cool completely.
- Prepare the vanilla pudding according to the package directions. Refrigerate until set and keep chilled until assembly.
- Remove any cupcake liners. Slice each cooled cupcake in half horizontally with a serrated knife.
- Bring the heavy cream just to a boil in a small saucepan. Remove from the heat and add the chocolate and corn syrup. Let stand for 5 minutes, then stir until smooth. Cool for about 10 minutes, stirring occasionally, until slightly thickened but still pourable.
- Spoon about 1 tablespoon of pudding onto each cupcake bottom and gently replace the top half.
- Spoon about 1 tablespoon of chocolate glaze over each cupcake, letting it drip down the sides. Serve immediately, or cover and refrigerate for up to one day.
Notes
-
- Yield: Approximately 24 cupcakes; the yield may vary with your cake-mix package size.
- Cooling time: Allow extra time for the cupcakes to cool completely and the pudding to set before assembling.
- Chocolate: Semisweet mini chocolate chips also work in the glaze.
- Easy cleanup: Place parchment paper underneath the cooling rack to catch chocolate drips.
- Make ahead: Store assembled cupcakes in a tall covered container in the refrigerator so the lid doesn’t touch the glaze. They are best within one day
💫 Variations on this recipe
- 🍫 Go double chocolate: Use chocolate cake mix instead of yellow cake for an extra-chocolatey version.
- 🍮 Change the filling: Try French vanilla, chocolate or banana instant pudding, prepared according to its package directions.
- 🍓 Add some berries: Tuck a few thin strawberry slices into the pudding layer and serve the cupcakes the same day.
- 🌙 Try dark chocolate: Replace the semisweet chocolate with dark chocolate for a less-sweet glaze.
- 🧁 Make it from scratch: Use your favorite homemade yellow cupcakes and thick vanilla custard in place of the mixes.
- 🎉 Dress them up: Add sprinkles or chocolate curls before the glaze sets for a festive finishing touch!
Other cupcake recipes we love
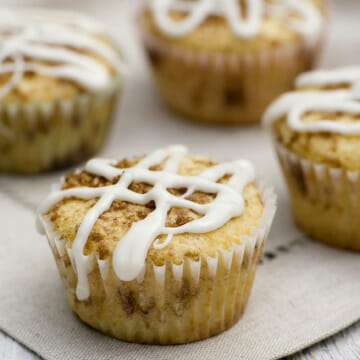
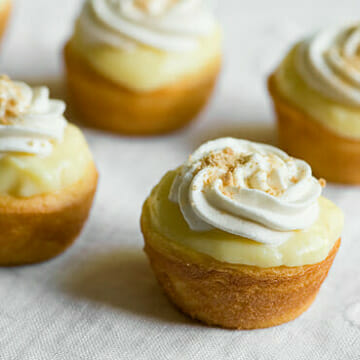
Looking for more cupcake inspiration? You can find our complete collection of cupcake recipes here!
⭐️ We want to know what you think!
If you try this recipe, we would love to hear how it came out for you! I’d be super grateful if you could leave a star rating (you pick how many stars! 🌟 ) and your thoughts in the Comments section below.
🥣 Come on into our kitchen!
I’m excited to make these for my dad’s 77th birthday tonight.
I believe there is a step that has a typo and should be changed from “cook” to “cool”:
Step Seven: Let your pot of heavenly melted chocolate sit and cook for ten minutes.
You are so right – thank you for catching that! All fixed, and I hope your dad has a wonderful birthday!
Heavy boil for just 2/3 cup of Heavy Cream? I know I have to stir,stir, stir. The heavy cream won’t burn at a full boil?
Yep, you want to bring it to a full boil just for a few seconds to get the full heat needed for melting the chocolate. :)
Thanks, I’m thinking these would be a good Christmas morning treat, when all the hoopla dies down…recliner, cup of coffee and a couple of these….nap time.
That sounds like the perfect Christmas morning treat for your wonderful family! :)
This recipe is SO delicious! The richness of the chocolate topping goes perfectly with the light fluffy cupcakes and pudding filling.
Barbara! I’m so happy you like them – all the good things in one cupcake, right?
I would love to make these, but can’t get a yellow cake mix where I live (Europe). What from scratch recipe can I use instead????
Here’s a great link to a recipe from The Kitchn:http://www.thekitchn.com/recipe-basic-yellow-butter-cake-recipes-from-the-kitchn-14637
This is soooo gorgeous! I will have to try these!
Thank you – hope you love them as much as we do! :)
I think the photography and styling is one of your best! Share your secrets please!!
Thanks Kristy! This one was shot in natural light (coming from the side, just straight on with a white fabric background. I shoot my food shots with a Nikon D700 and a 105mm macro lens. The most hair-raising part of this one was that I set up the shot completely and poured the chocolate sauce on at the last second…I was just super-lucky to get a good pour! If you want any more details on the technical stuff just shoot me an email and I’ll be happy to explain more! :)
I’ve never had it in me to make a whole boston cream pie either although I love the donuts! I’d much rather go after it in cupcake form. I’m sure it’s even more delicious that way!
Cupcakes are always more delicious – there’s just something about ’em!
What a sweet dedication. The cupcakes look delicious.
Sweet cupcakes for sweet friends – it just seems like the right thing to do! :)
What a great post in your wonderful Kate style!
I have two dear life friends as your buddy Lynne
and what treasures they are:-)
I tip my hat to you this morning (imaginary
tipping of the hat taking place now!)
Thanks Karen – and aren’t we so lucky? :) :)
Awwww, what a sweet story! Love the photos! I will have to attempt these cupcakes just because…
Thanks!! I love sentimental recipes. :)
Such lovely photos.
My family Loves cupcakes and these look so darn yummy.
Think I will be making these soon only with different pudding fillings…just for variety. Hubby loves banana cream so will have to make some of those for him with a small sliced banana stuck right on top of the chocolate. :} He will love it I’m sure.
Thanks 4 the recipe.
ColleenB.
Sounds delicious! Chocolate and banana are the perfect combo.
These pictures are just beautiful, and this recipe is just amazing. Thanks for sharing it! :)
My pleasure! Hope you have fun making the,! :)
I read the recipe and already thought of a modification I’d make. I’d cut the dome off the cupcake instead of cutting it in half and then I’d scoop a bit of cake out of the bottom so it could hold more filling (and be a bit less messy by not squishing out the sides) Hey! how about putting both the chocolate and the pudding in the hollow and make them Surprise Boston Cream Pie Cupcakes?
Robin, I LOVE recipe improvisation! If you try them this way, will you let me know how they come out? They are definitely knife and fork cupcakes made the way I made ’em. (not that this stopped us from eating them for one little second!) :)
I will definitely let you know how they come out. I probably won’t be making them until next week because I already promised my 3 grandchildren that I’ll let them “help” me make cookies tomorrow.
Sounds like just the right kind to help to me!
Wowee! This looks so scrumptious! I will be making them tomorrow (shhh, secret) as a reward for the kids making it thru the first day of school for the new year. Thank you, also, for the amazing photography!!!! Could not have asked for better food styling and lighting. Simply amazing all the way around. Well done!
What a great mom you are to do that for the first day of school! :) And thanks for your sweet works about my pictures…I was DETERMINED to do these cupcakes proud!
Okay….break from no pastry eating…just for today. LOL I gotta make a run!…See what you did?!! ^_^
Well, you HAVE to eat pastry from time to time – I think it might be an actual law. :)